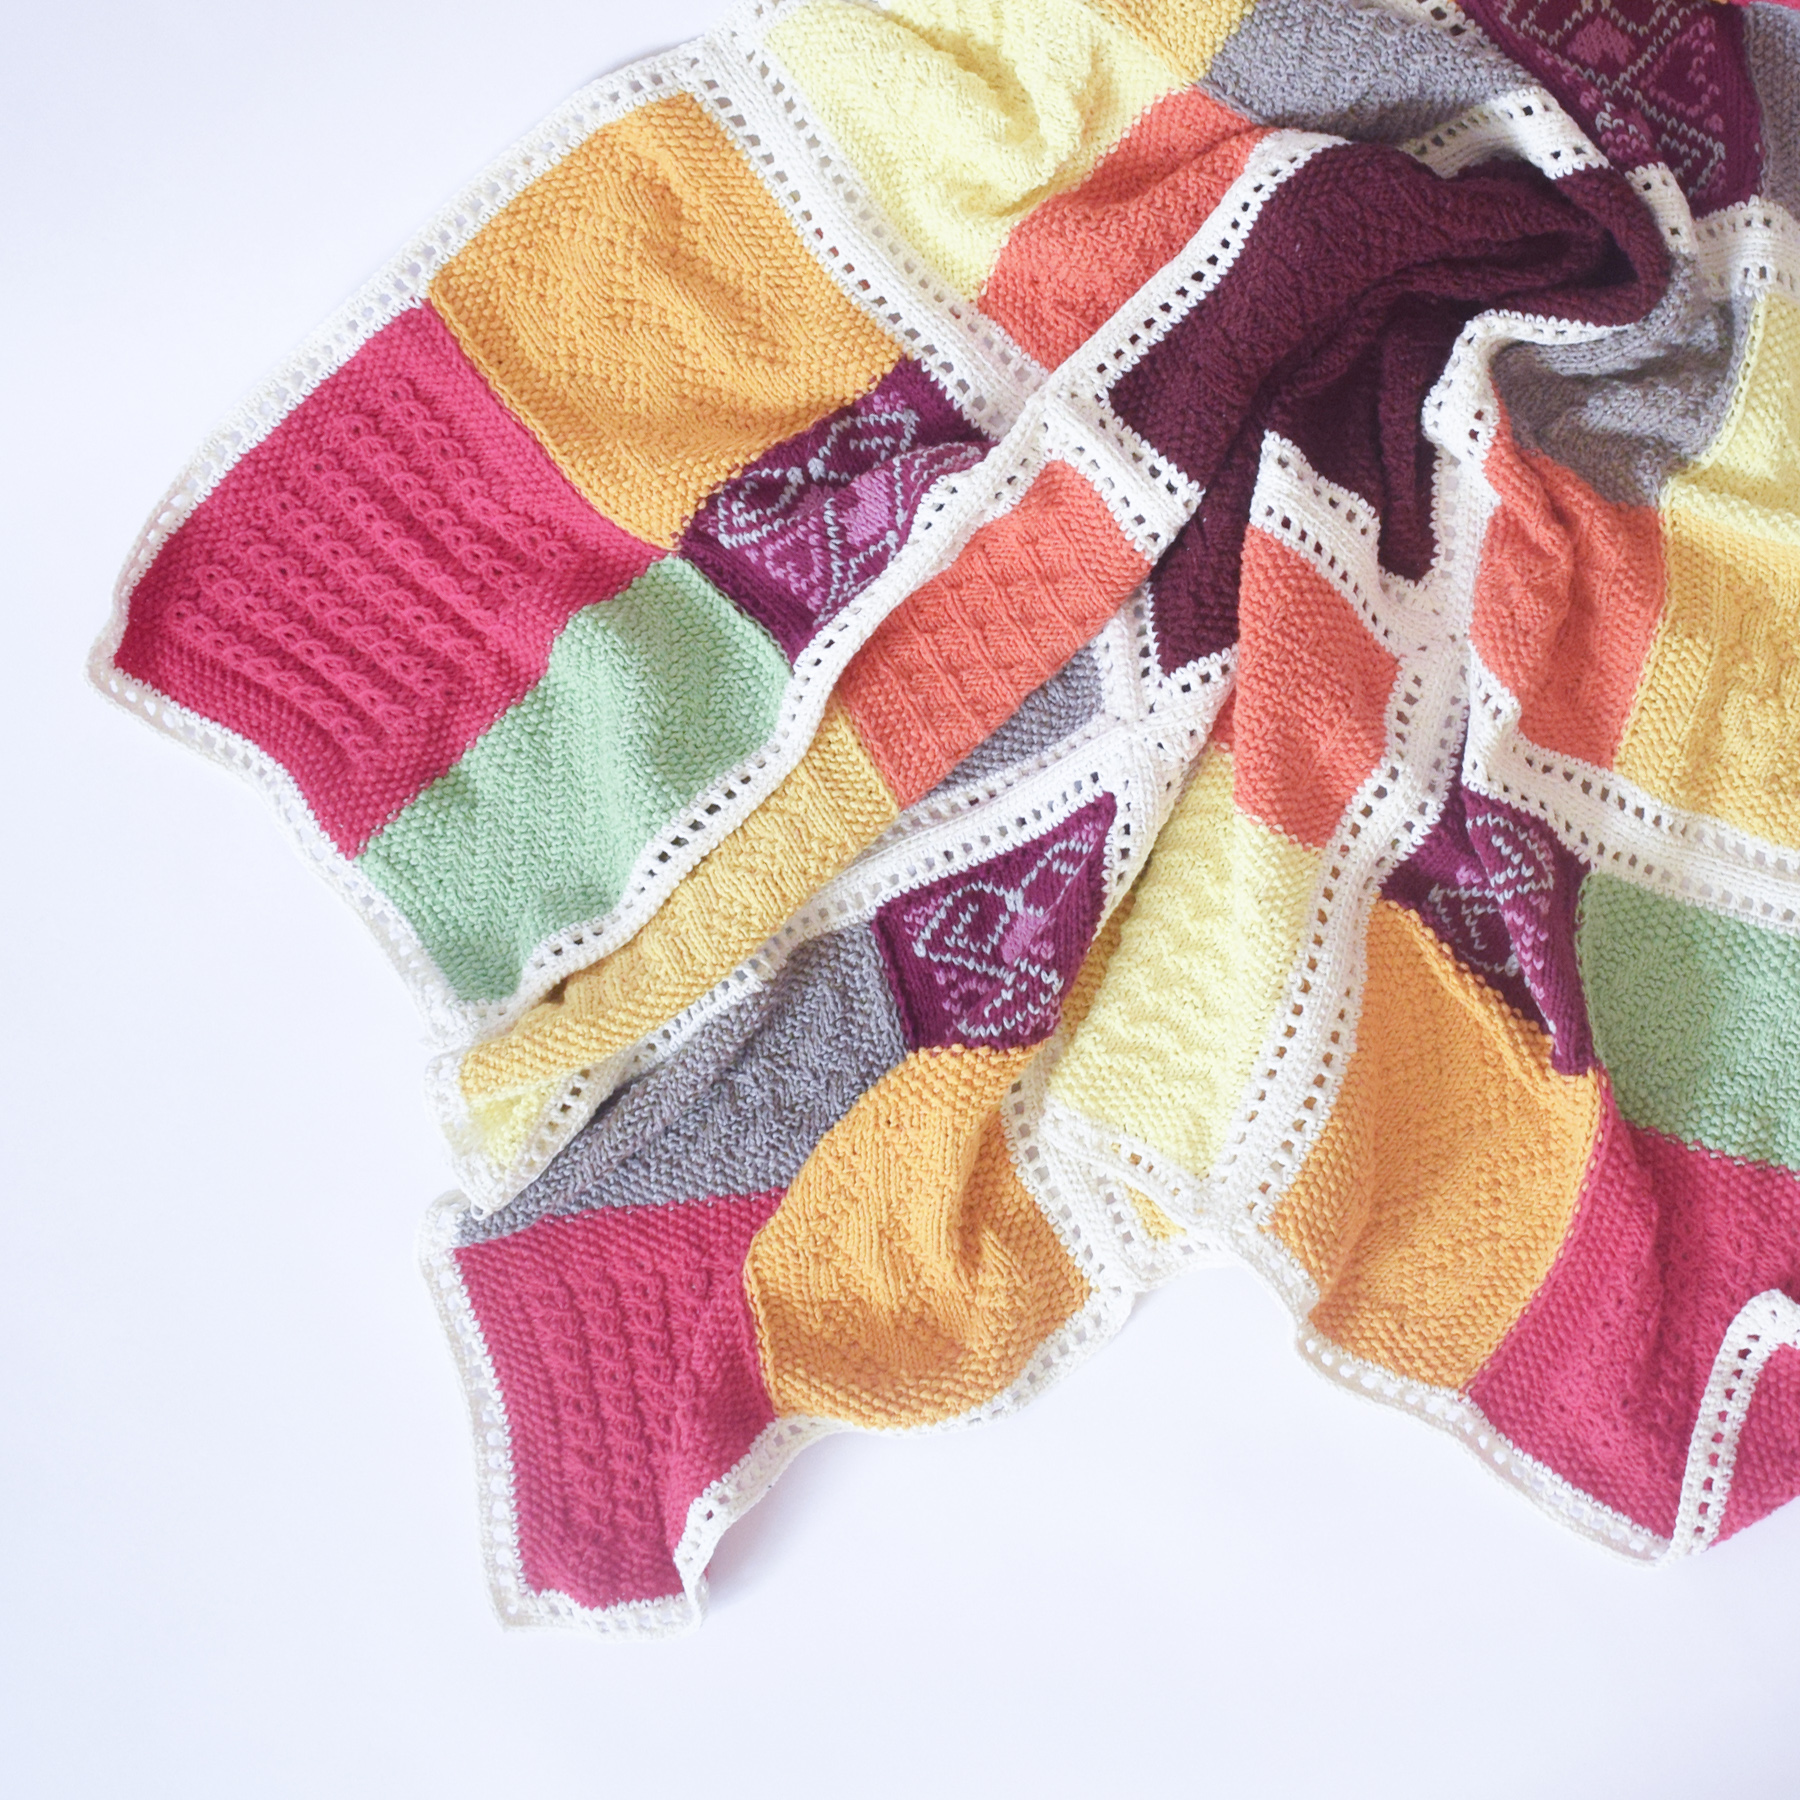
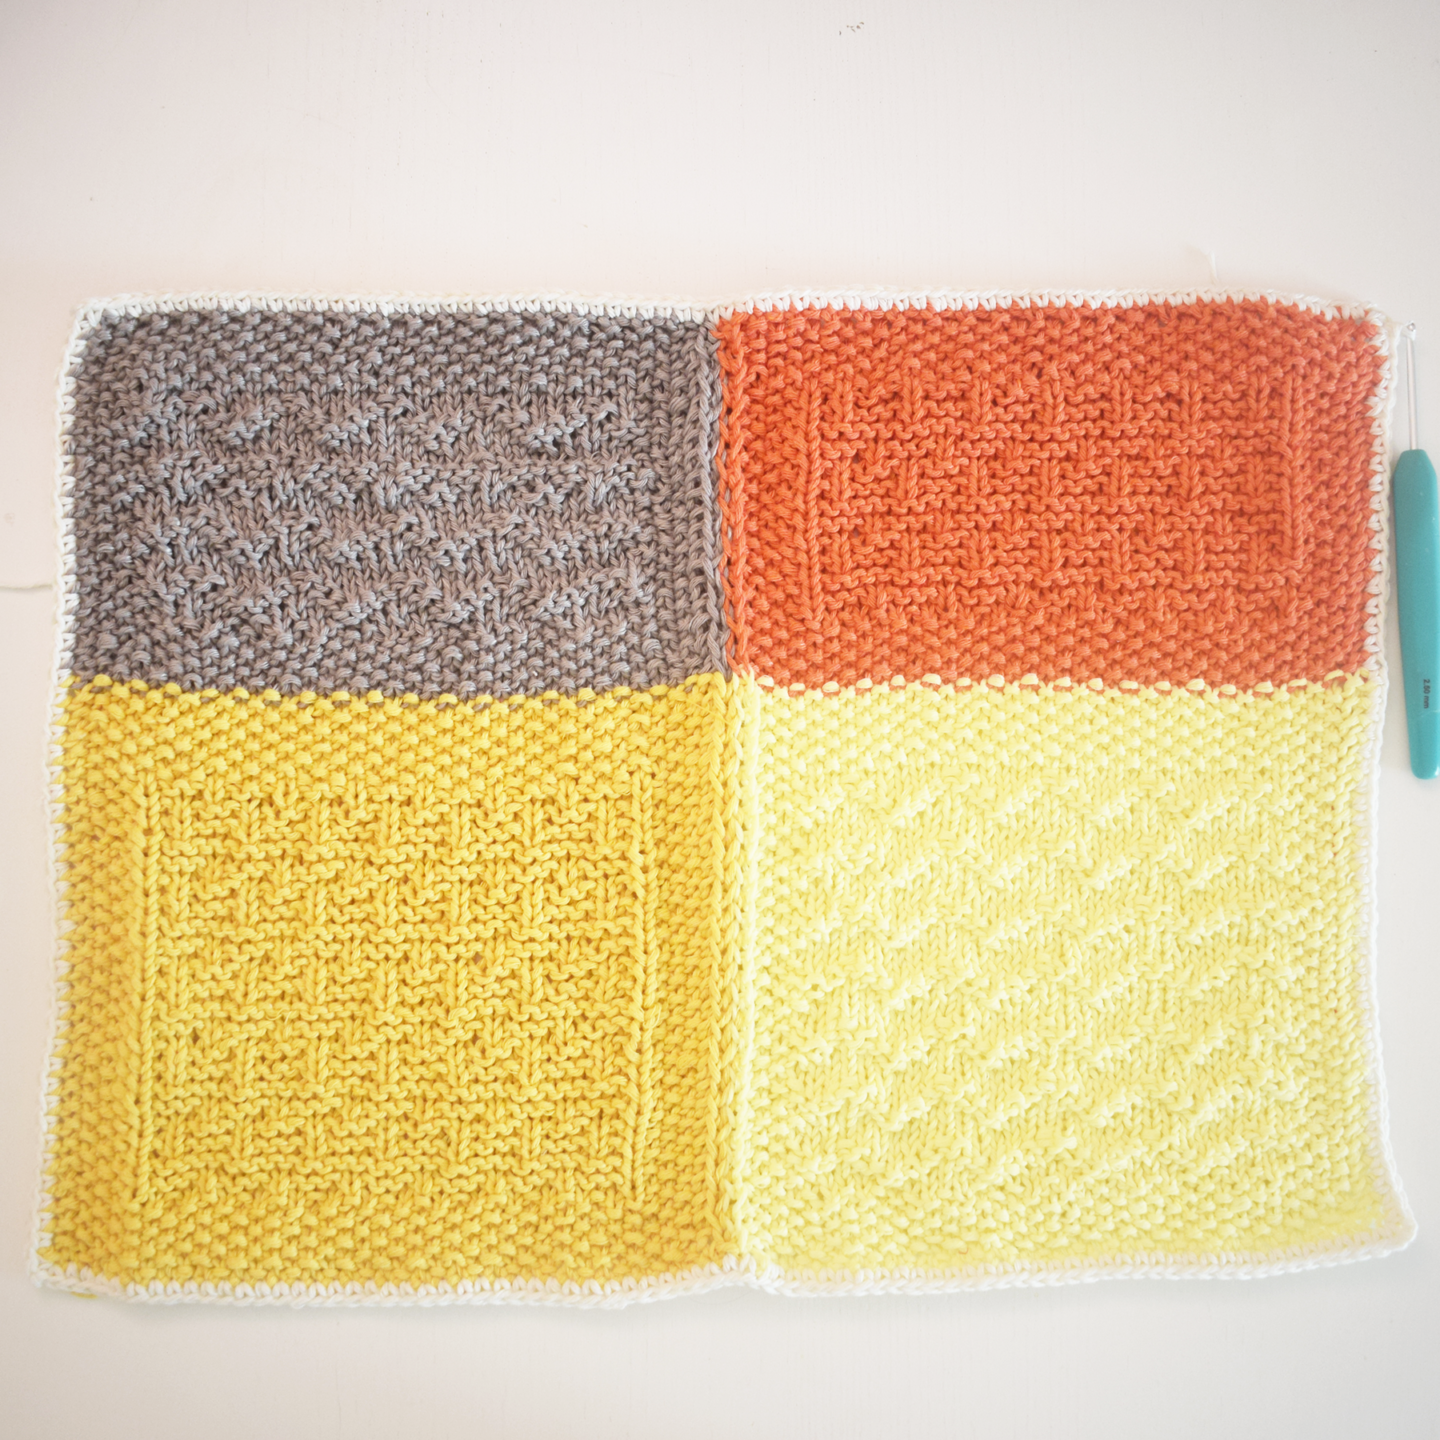
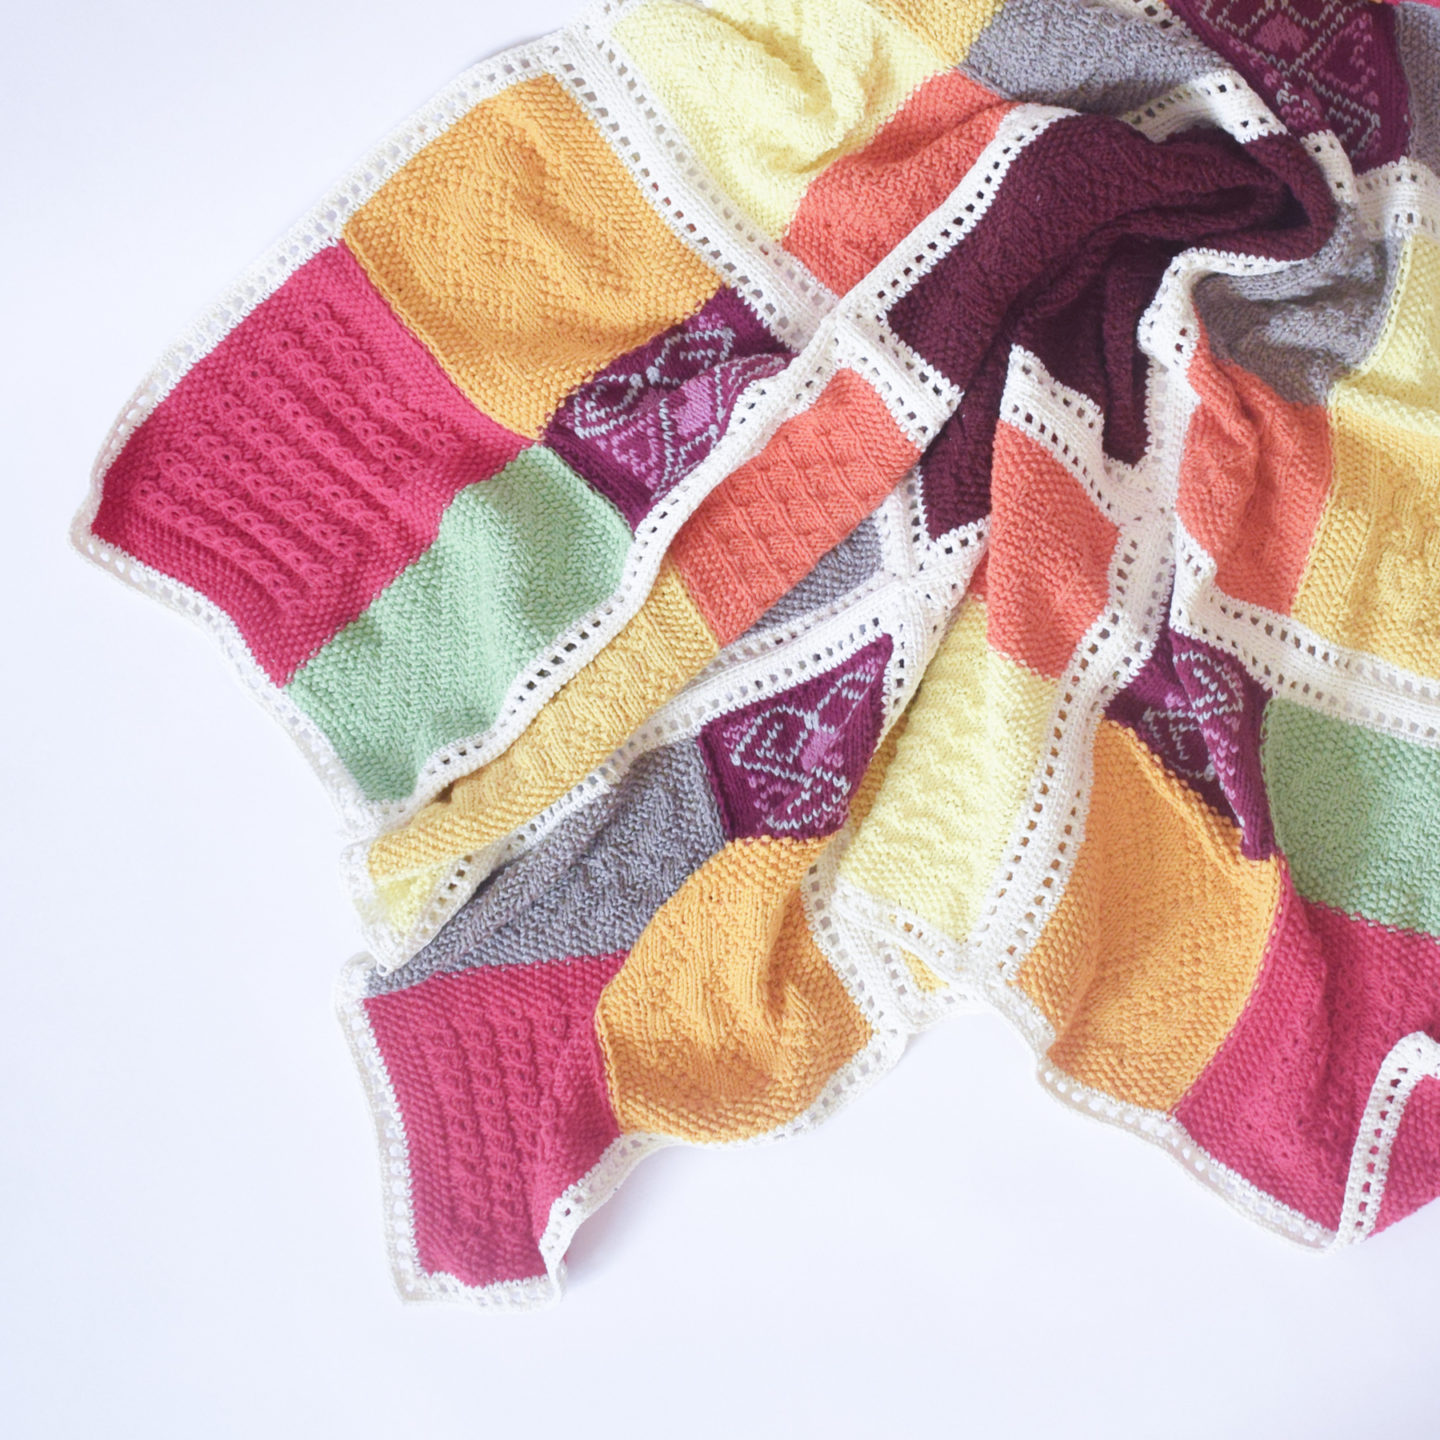
Hi my crafty friends! We’ve finally reached the end of our journey in Summer Project 2018. In this part we’ll crochet a white border around the nine units we ended up with after the joining in the previous part, and after that we’ll join these units together into one piece If you don’t like the idea of adding these borders, you can skip this part and go straight to the final joining …and Bismillah, let’s begin
The pattern Each of the nine units has a long side and a short side. We’ll start with the long side first, and it’s best to start where the piece ended
Follow the instructions under the photos
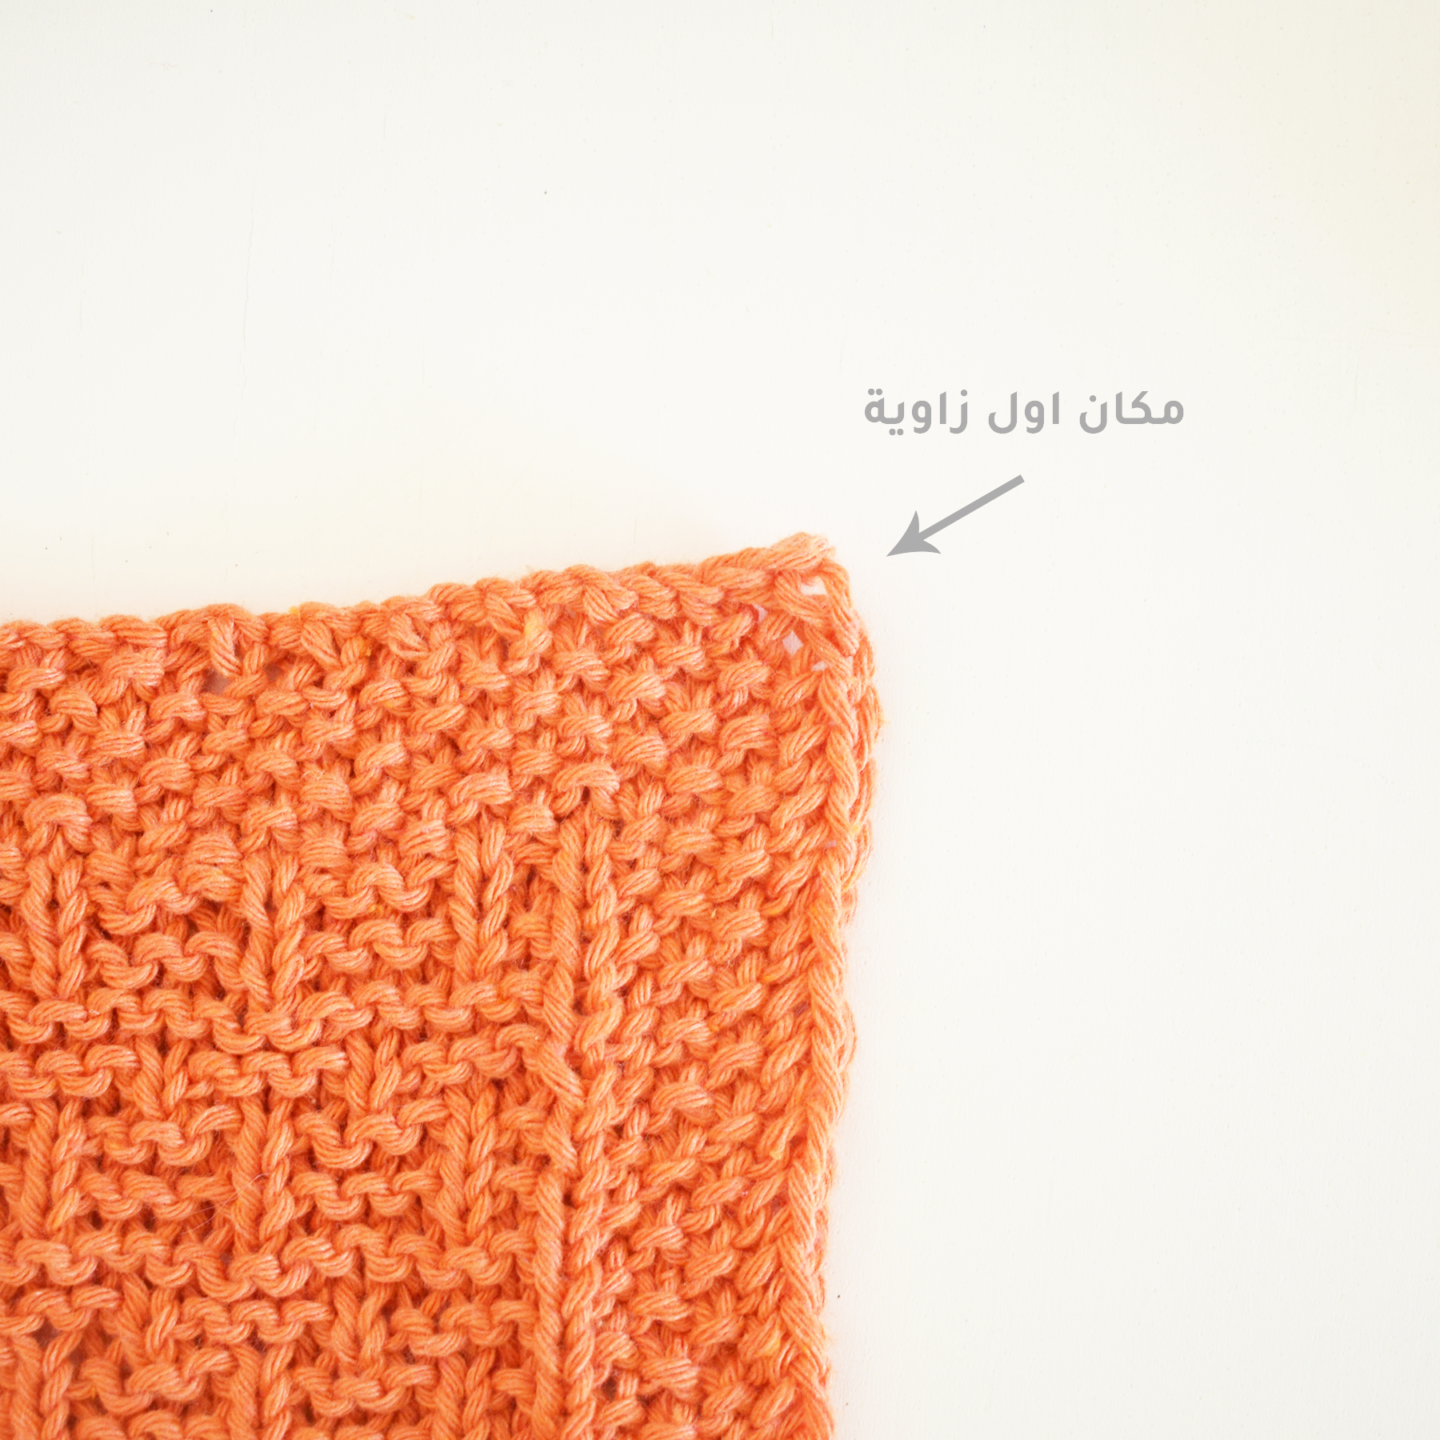
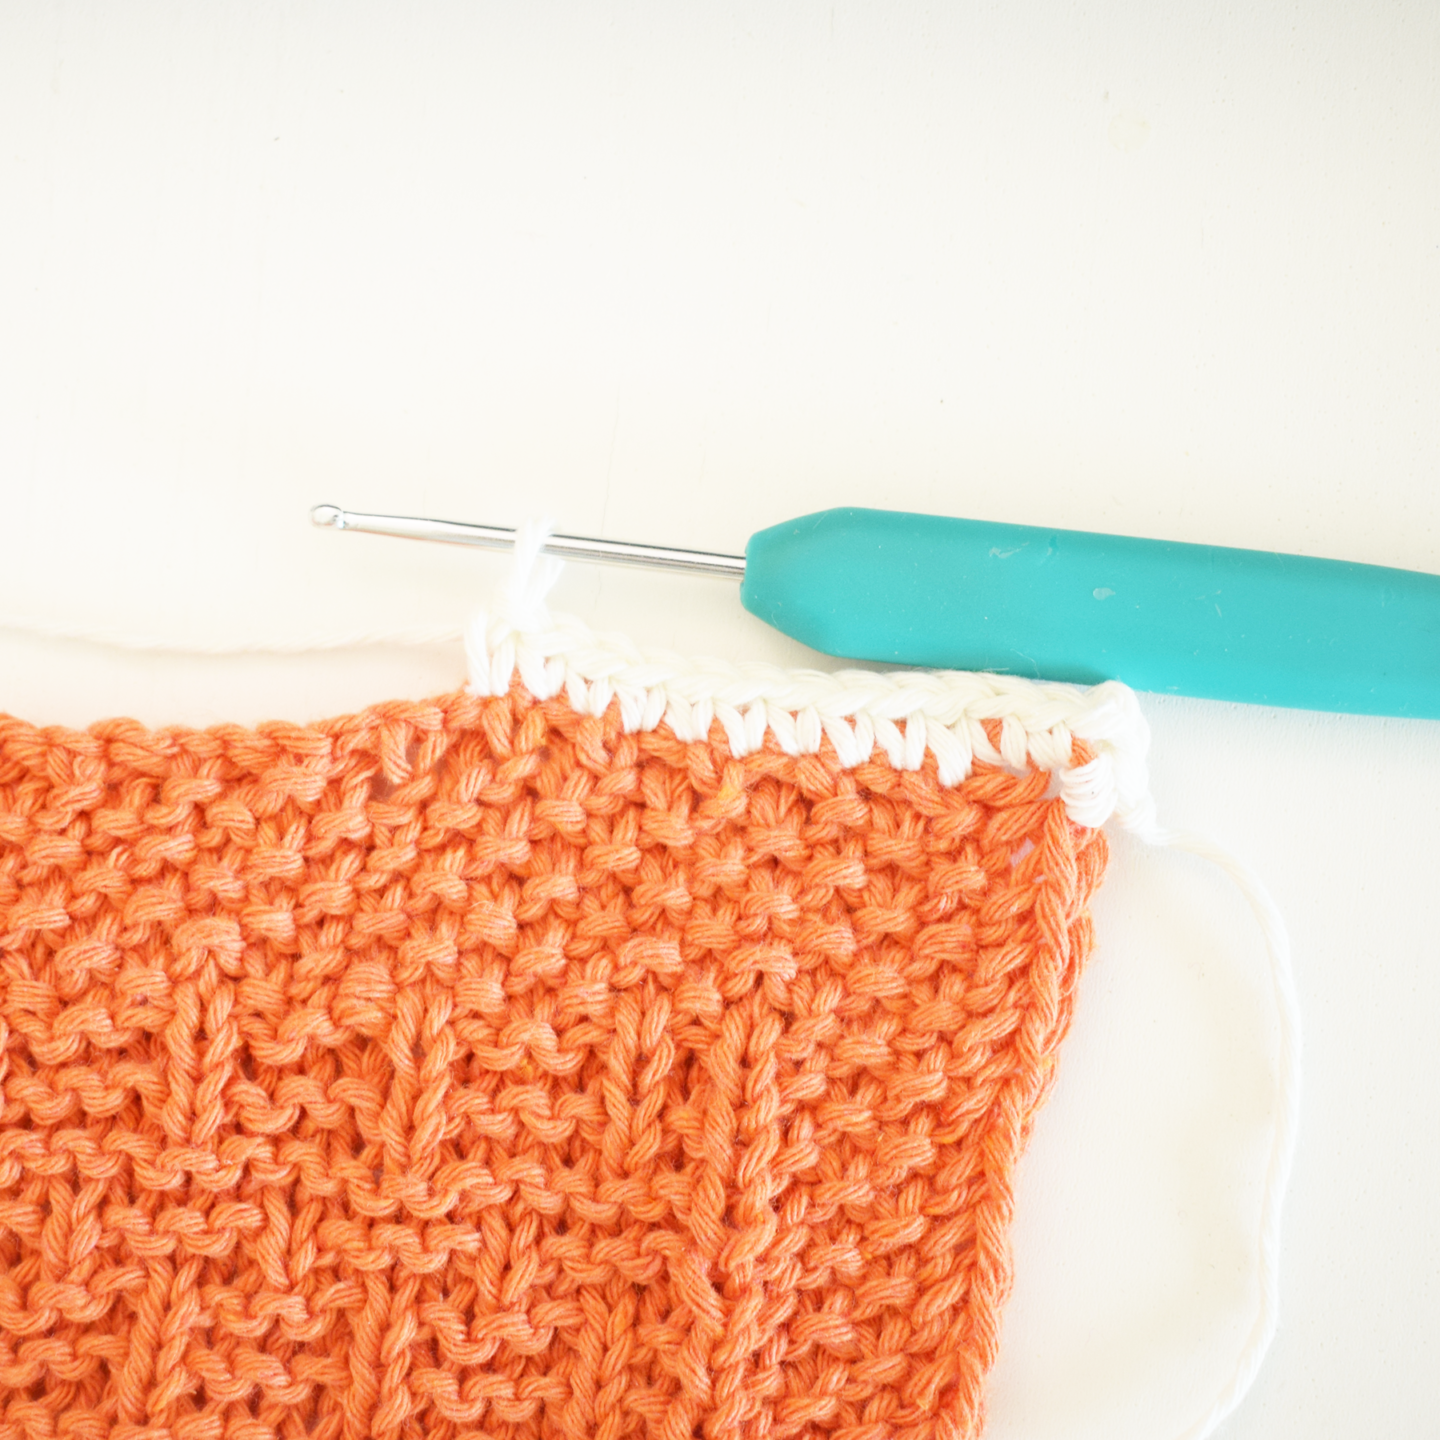
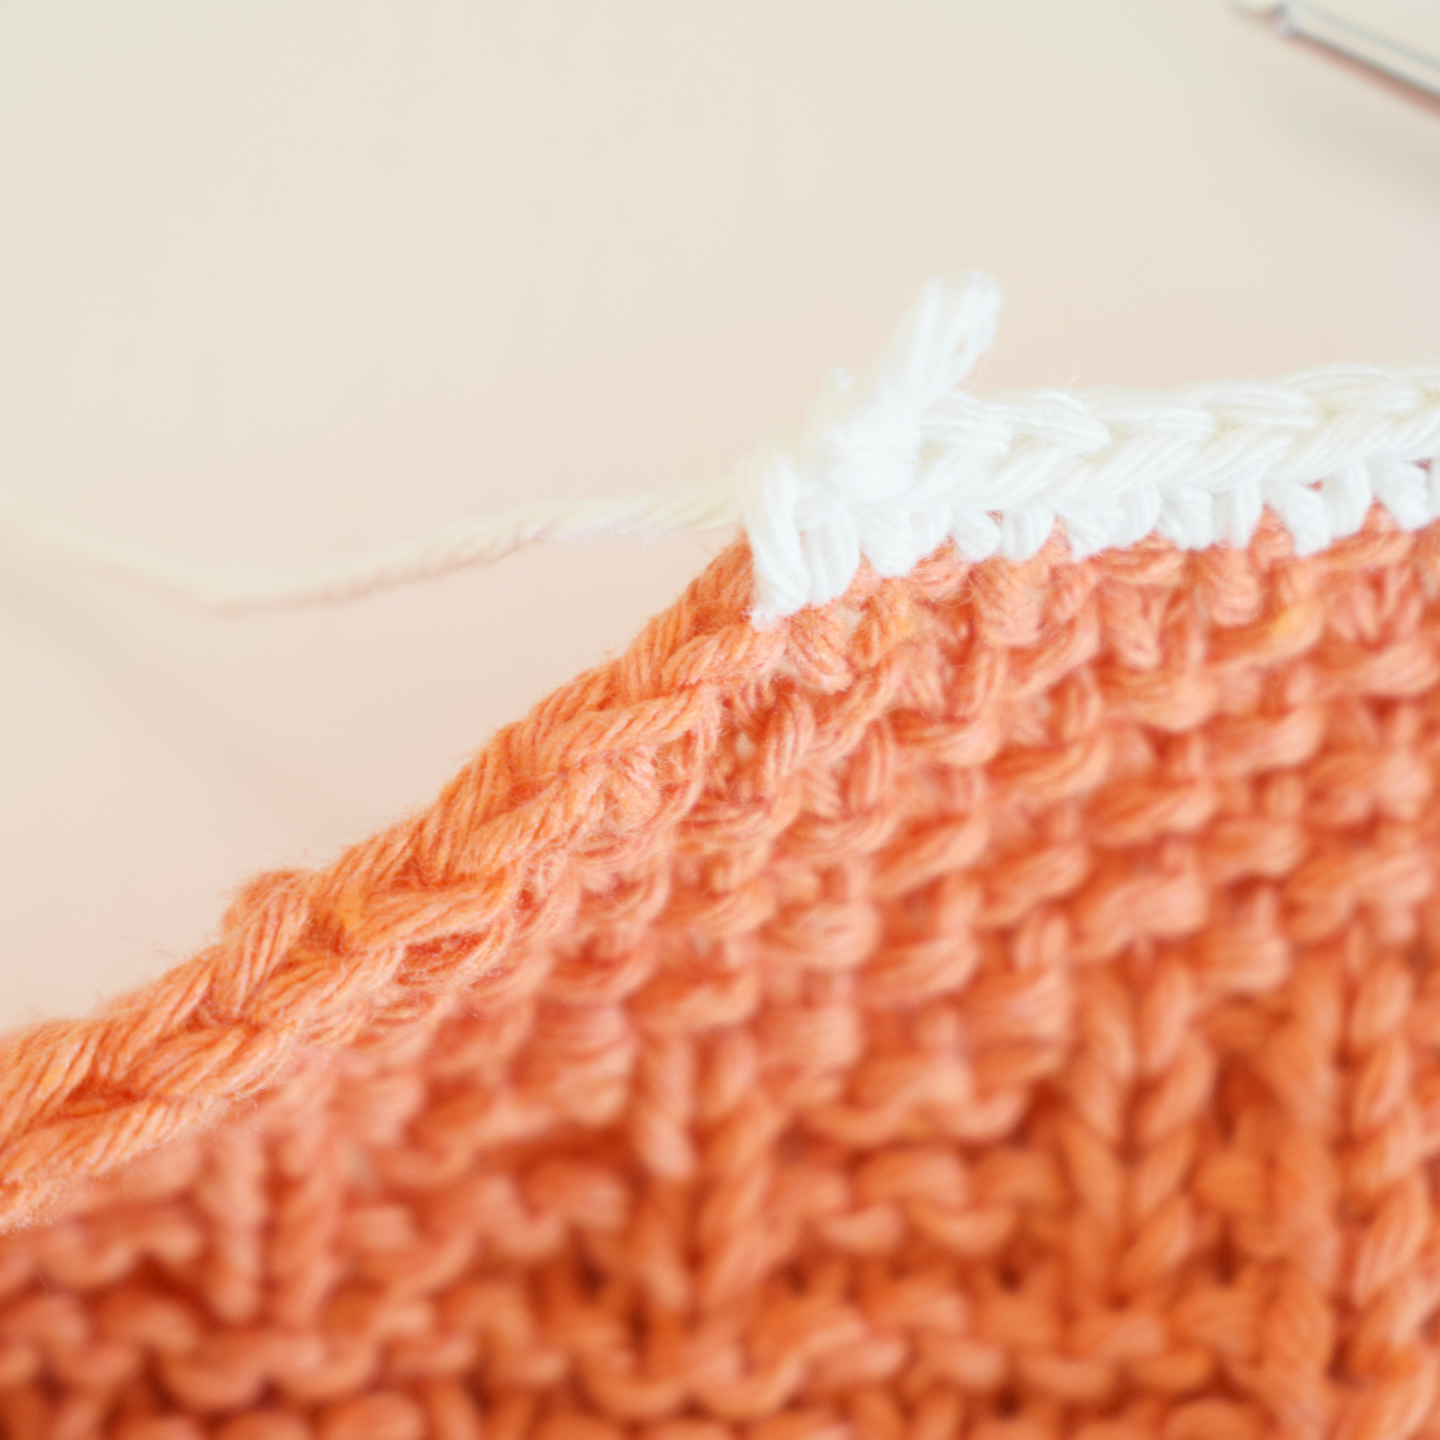
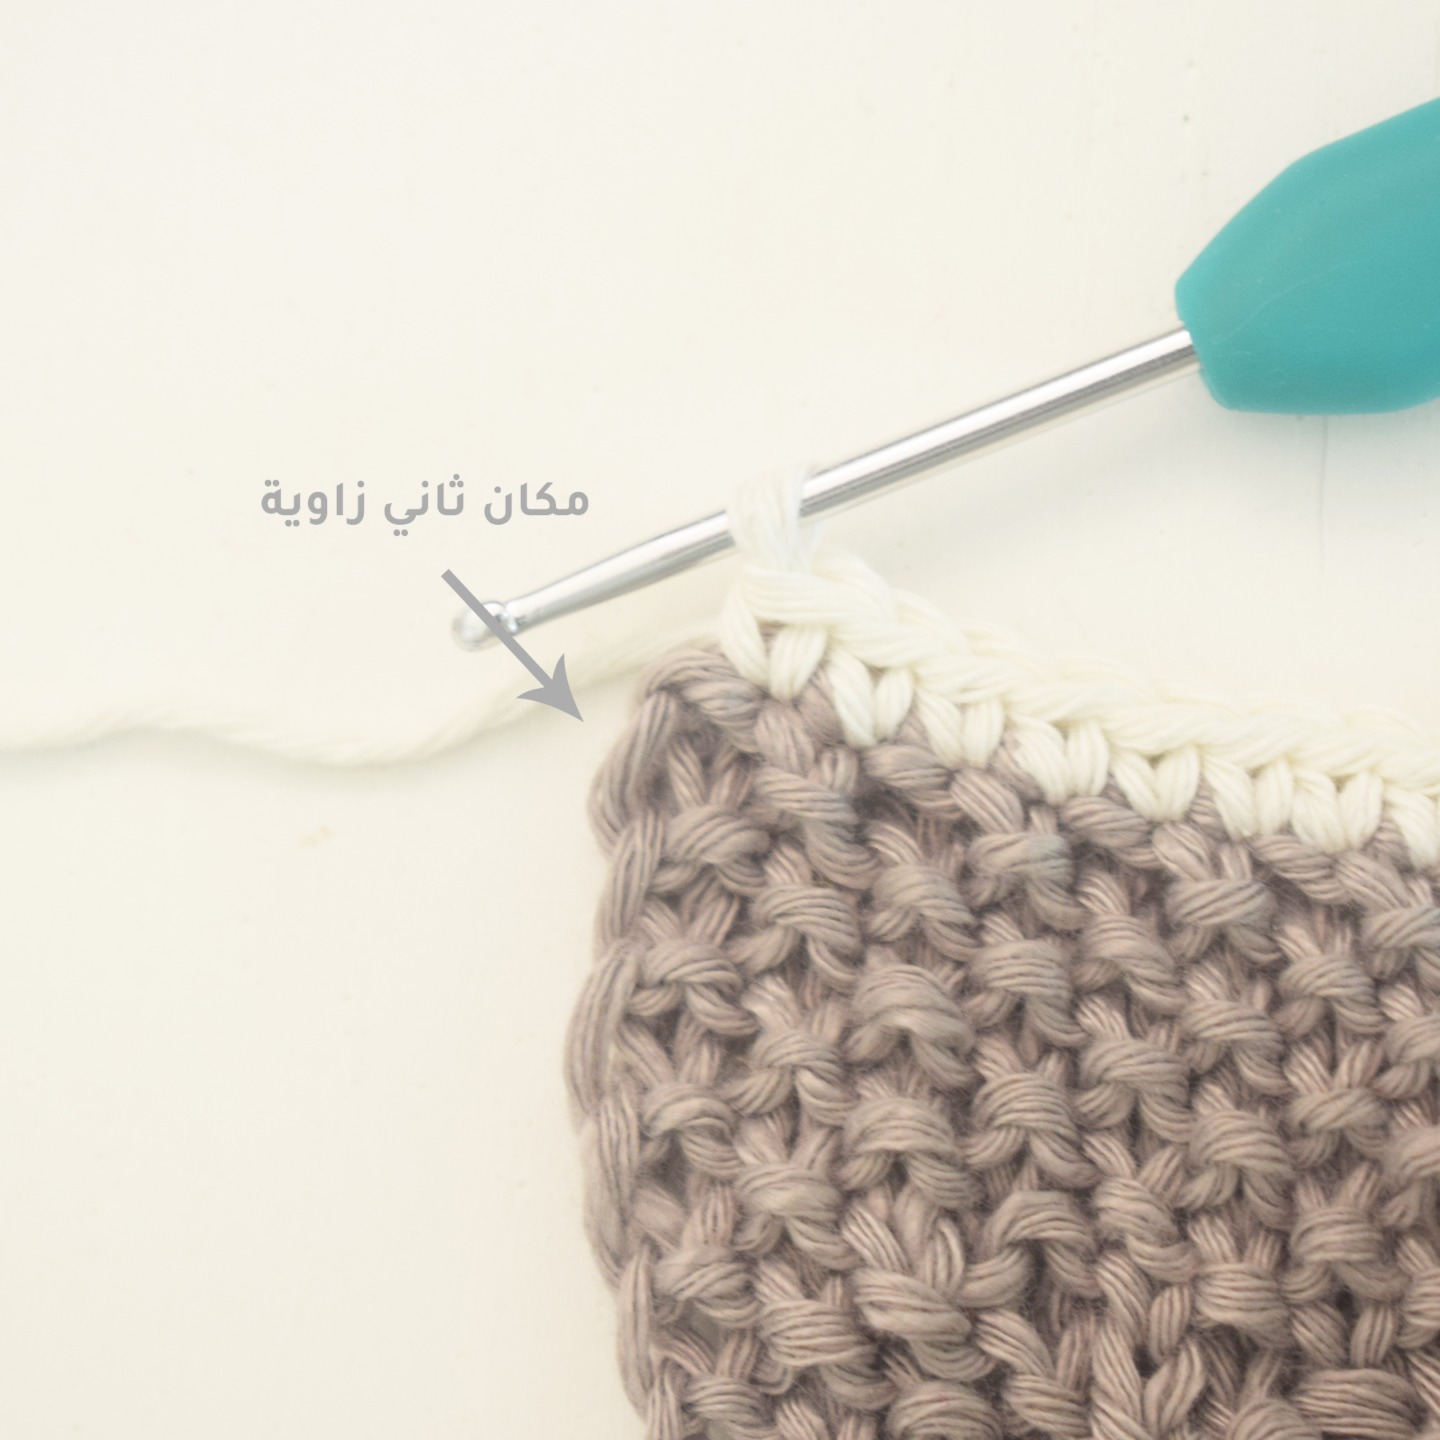
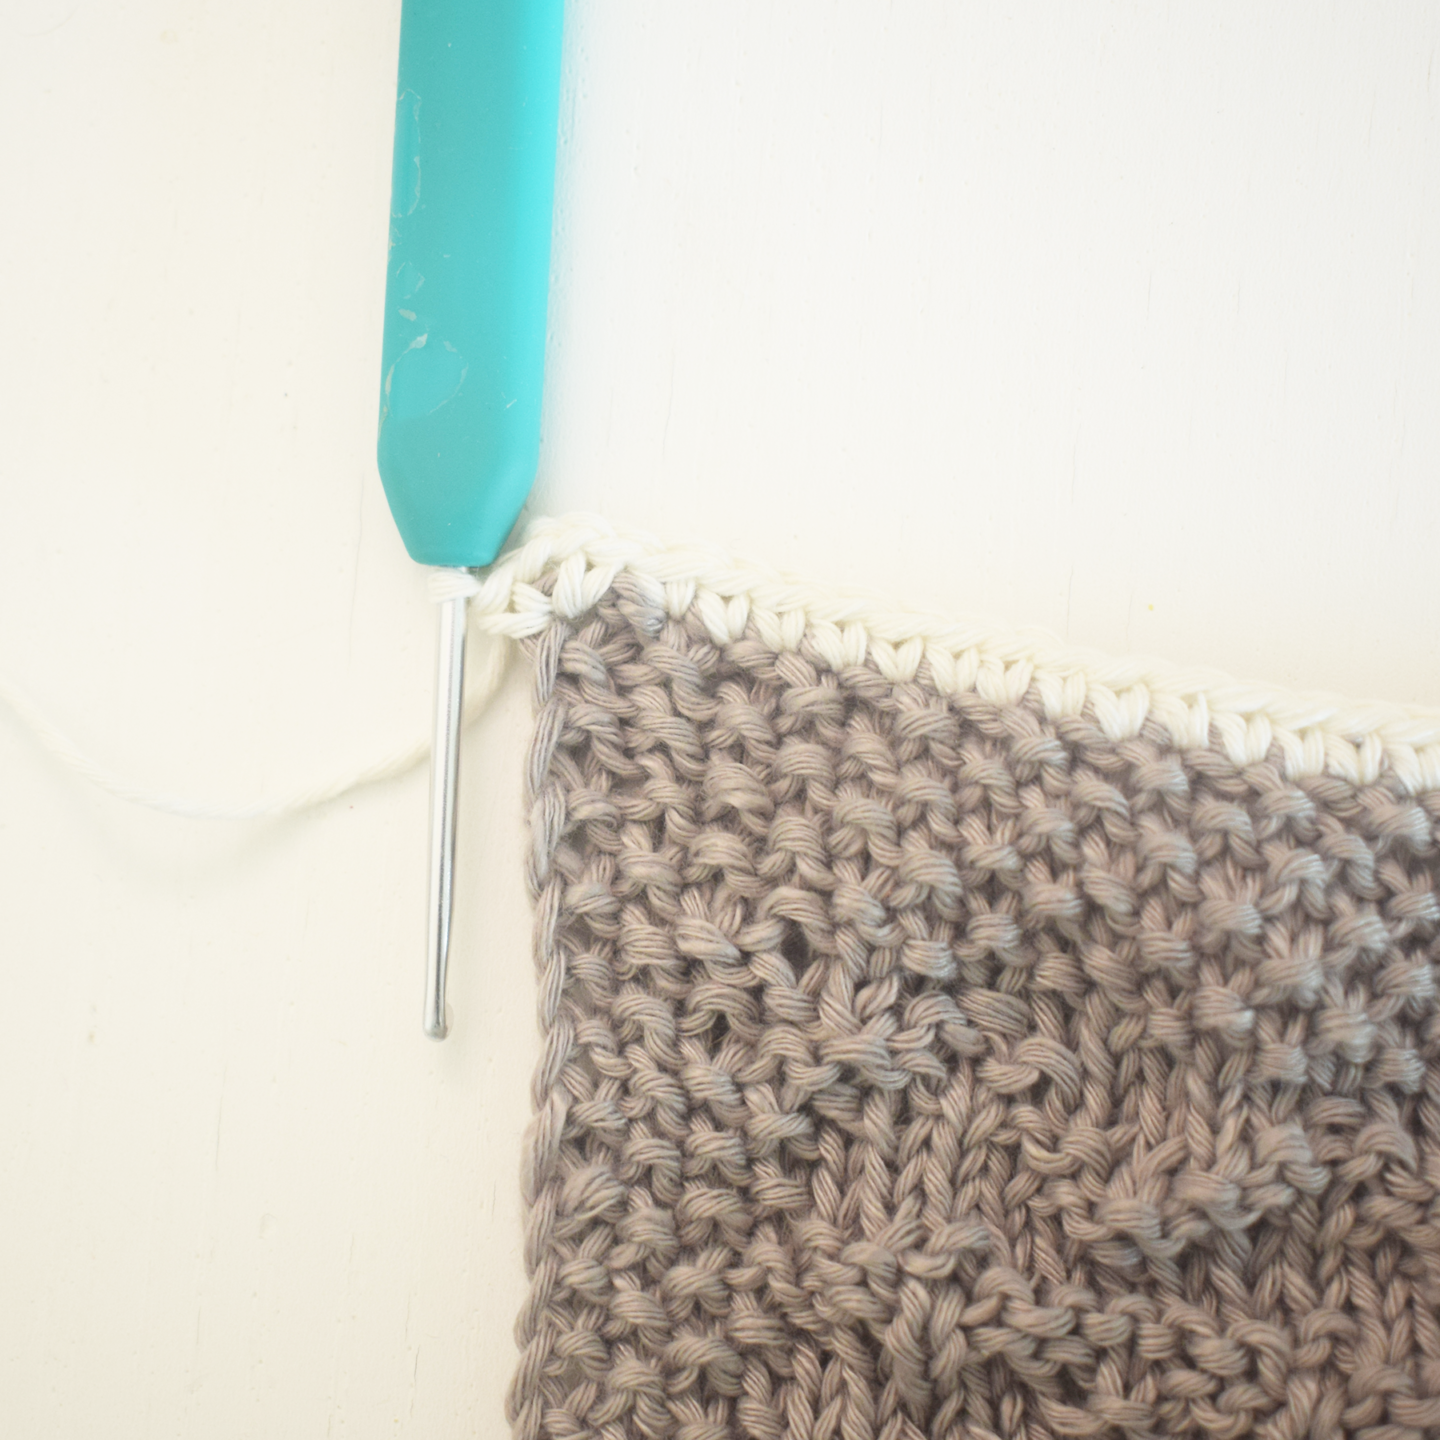
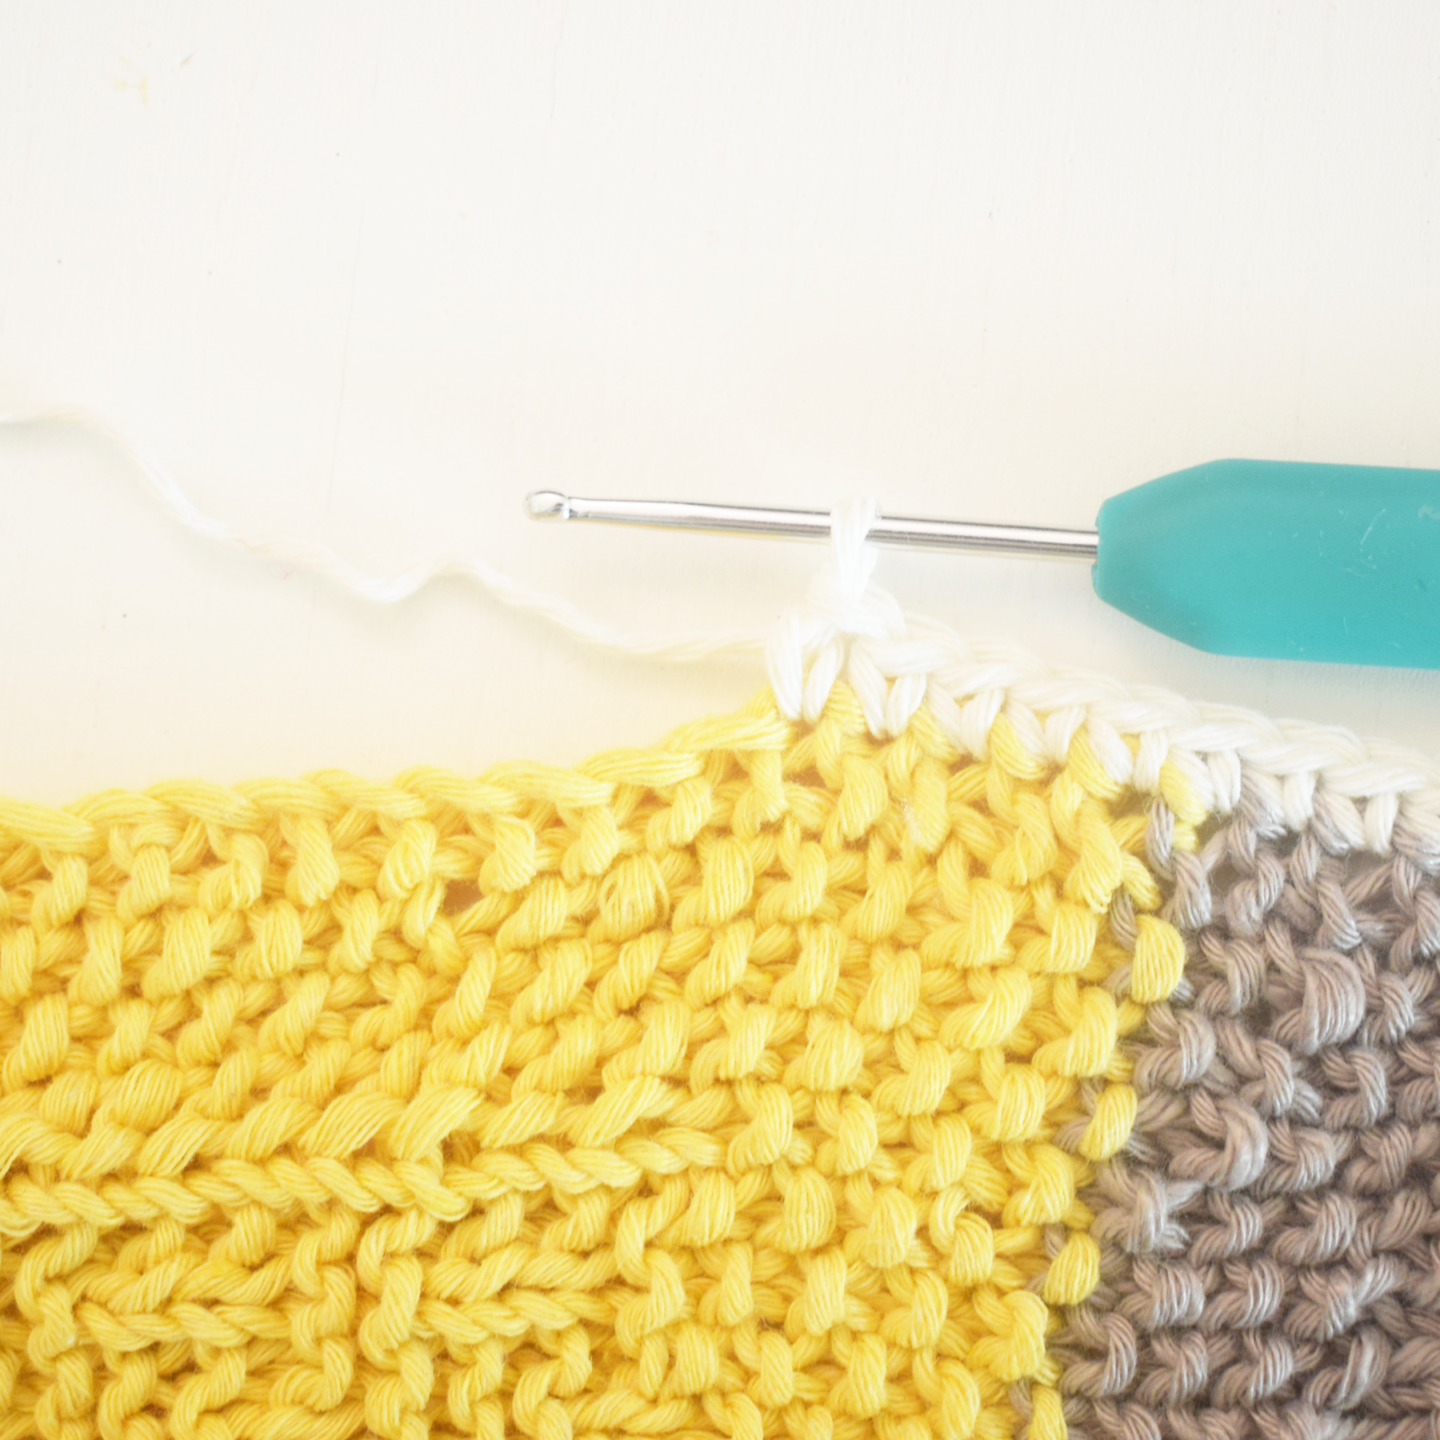
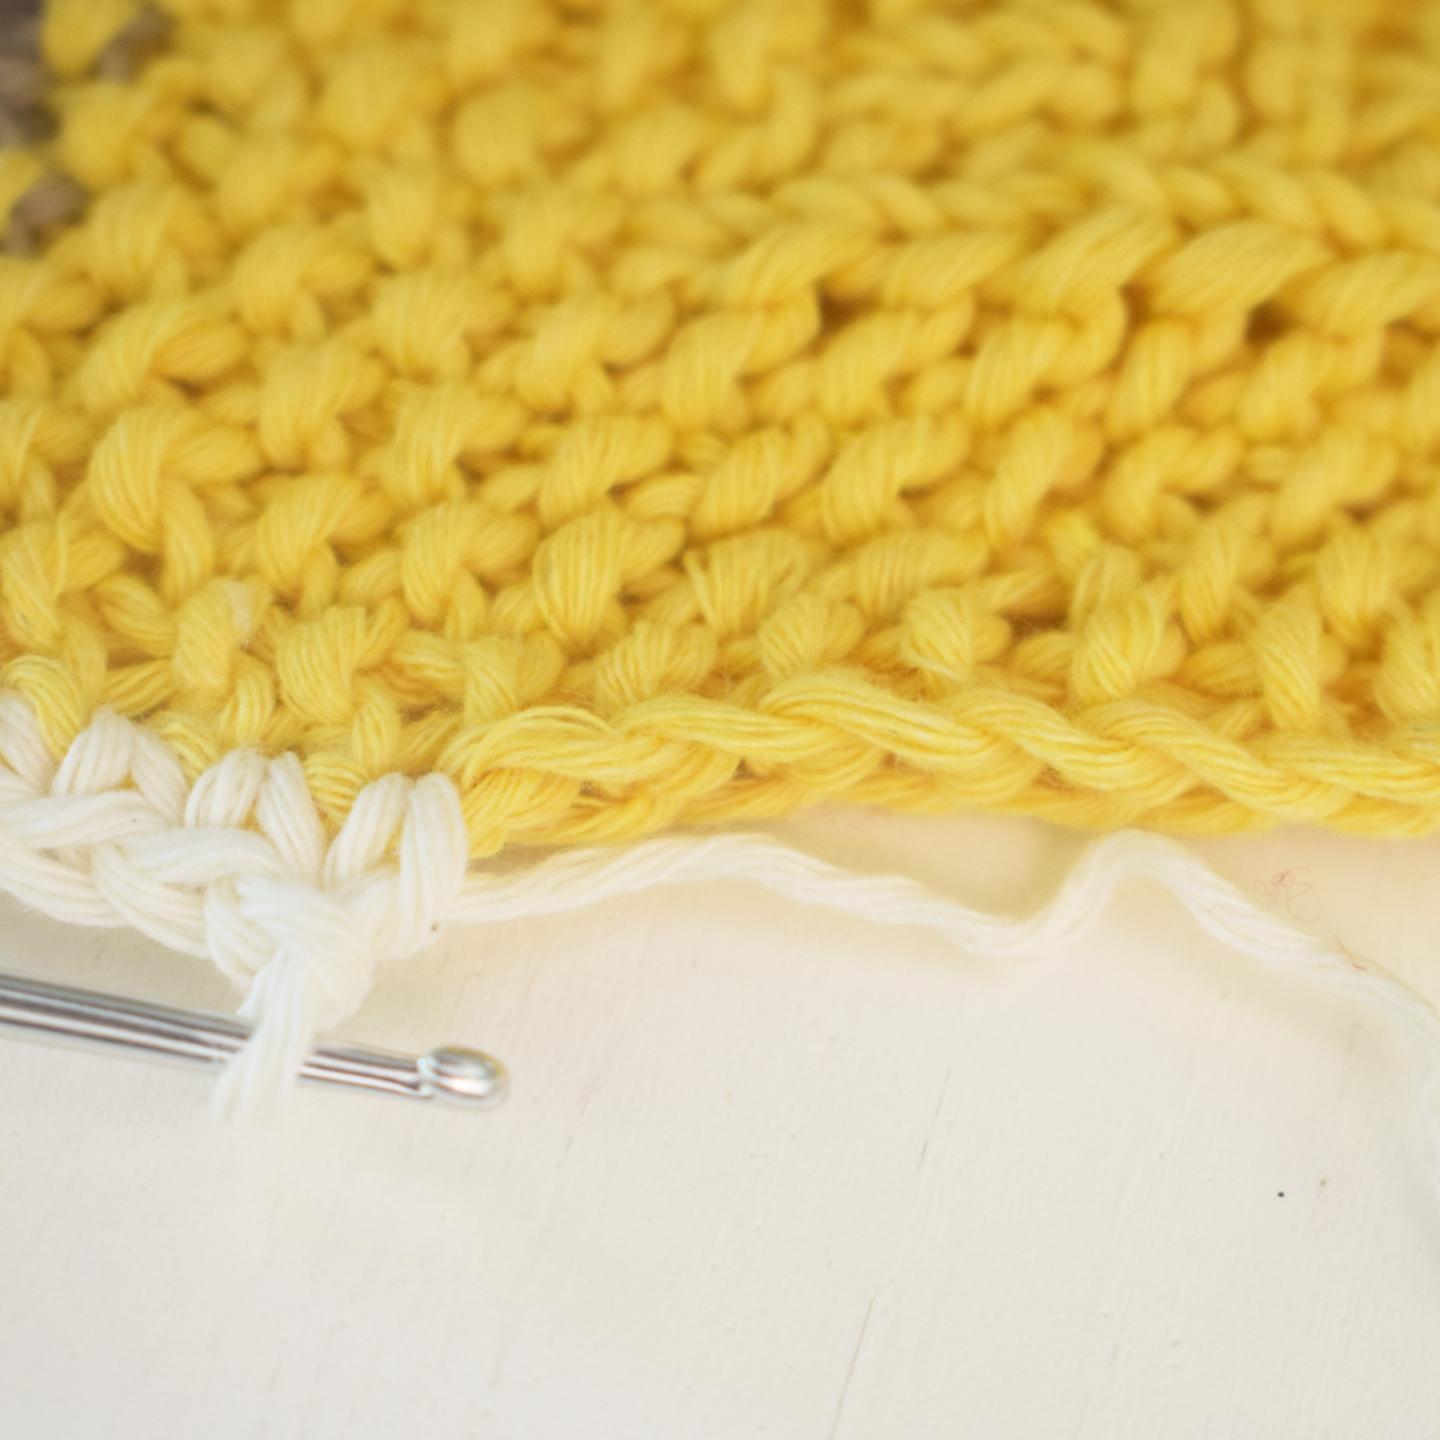
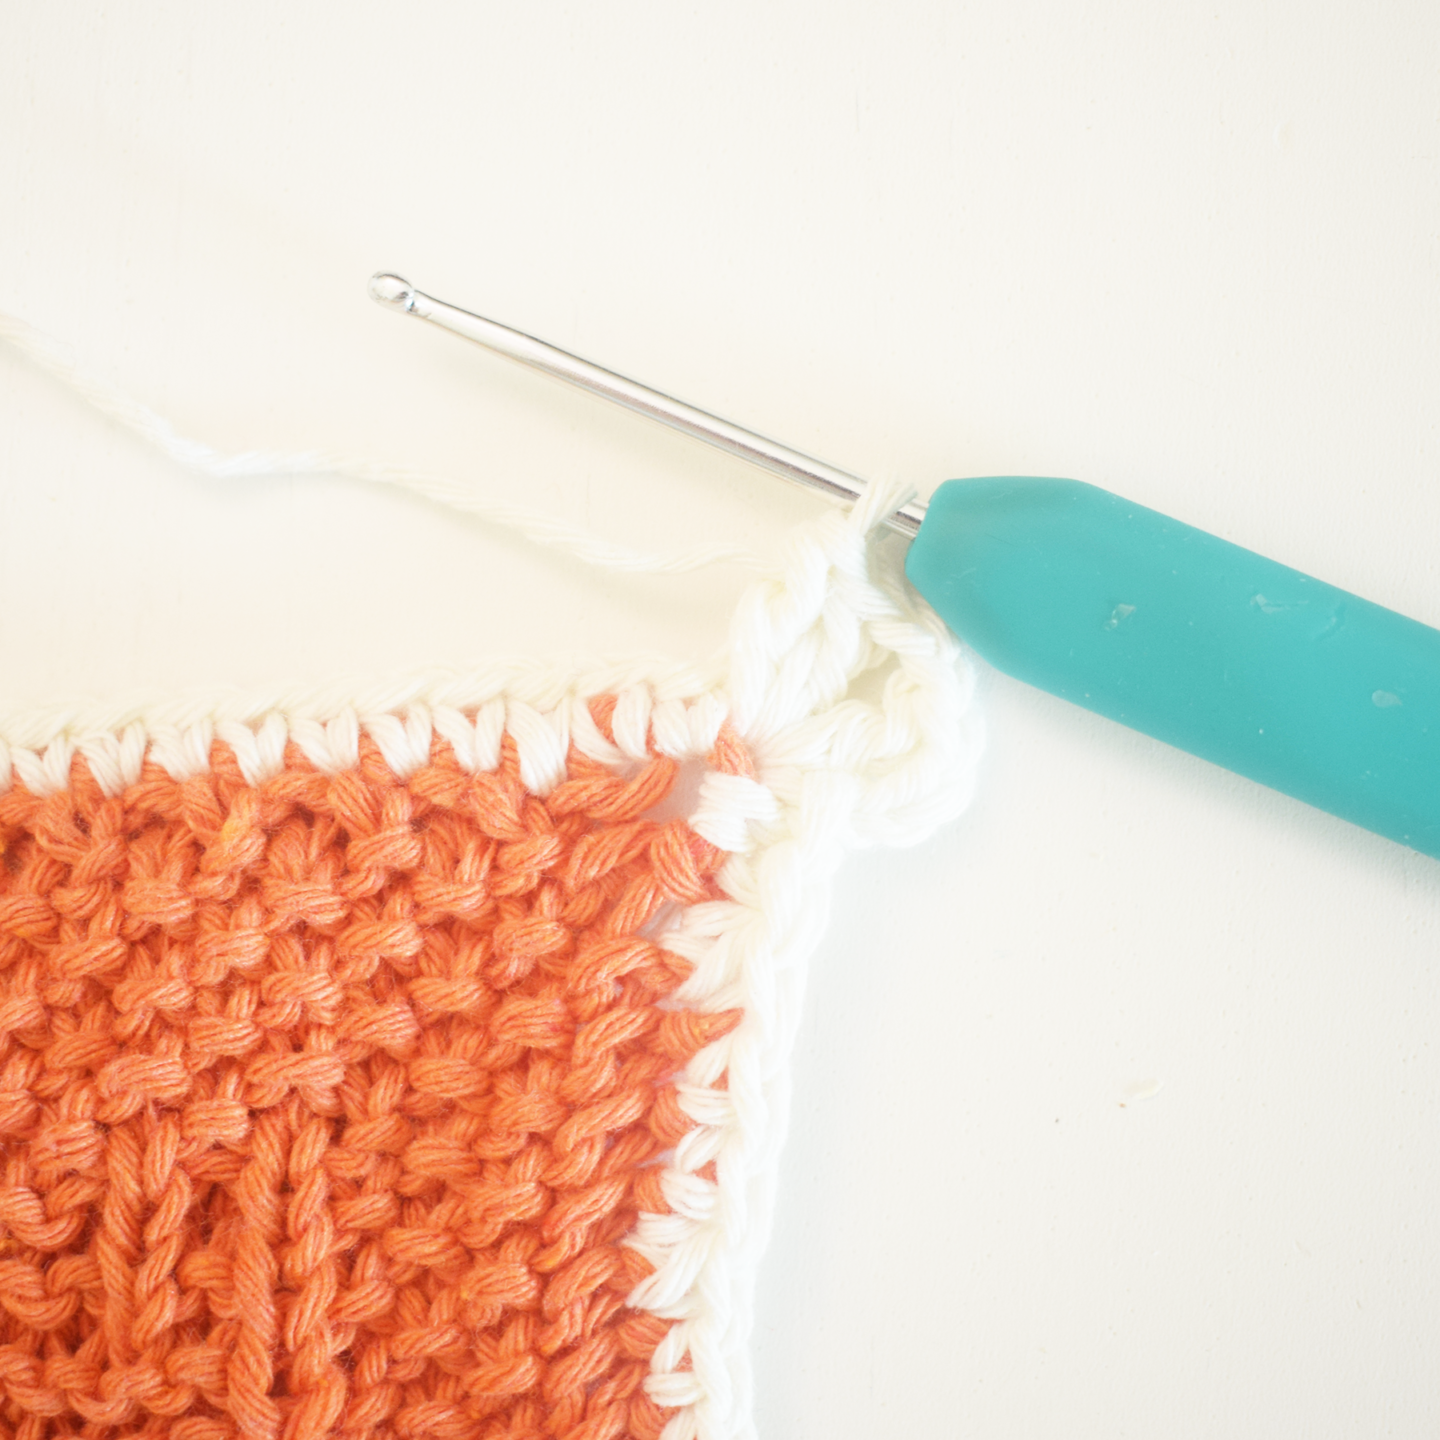
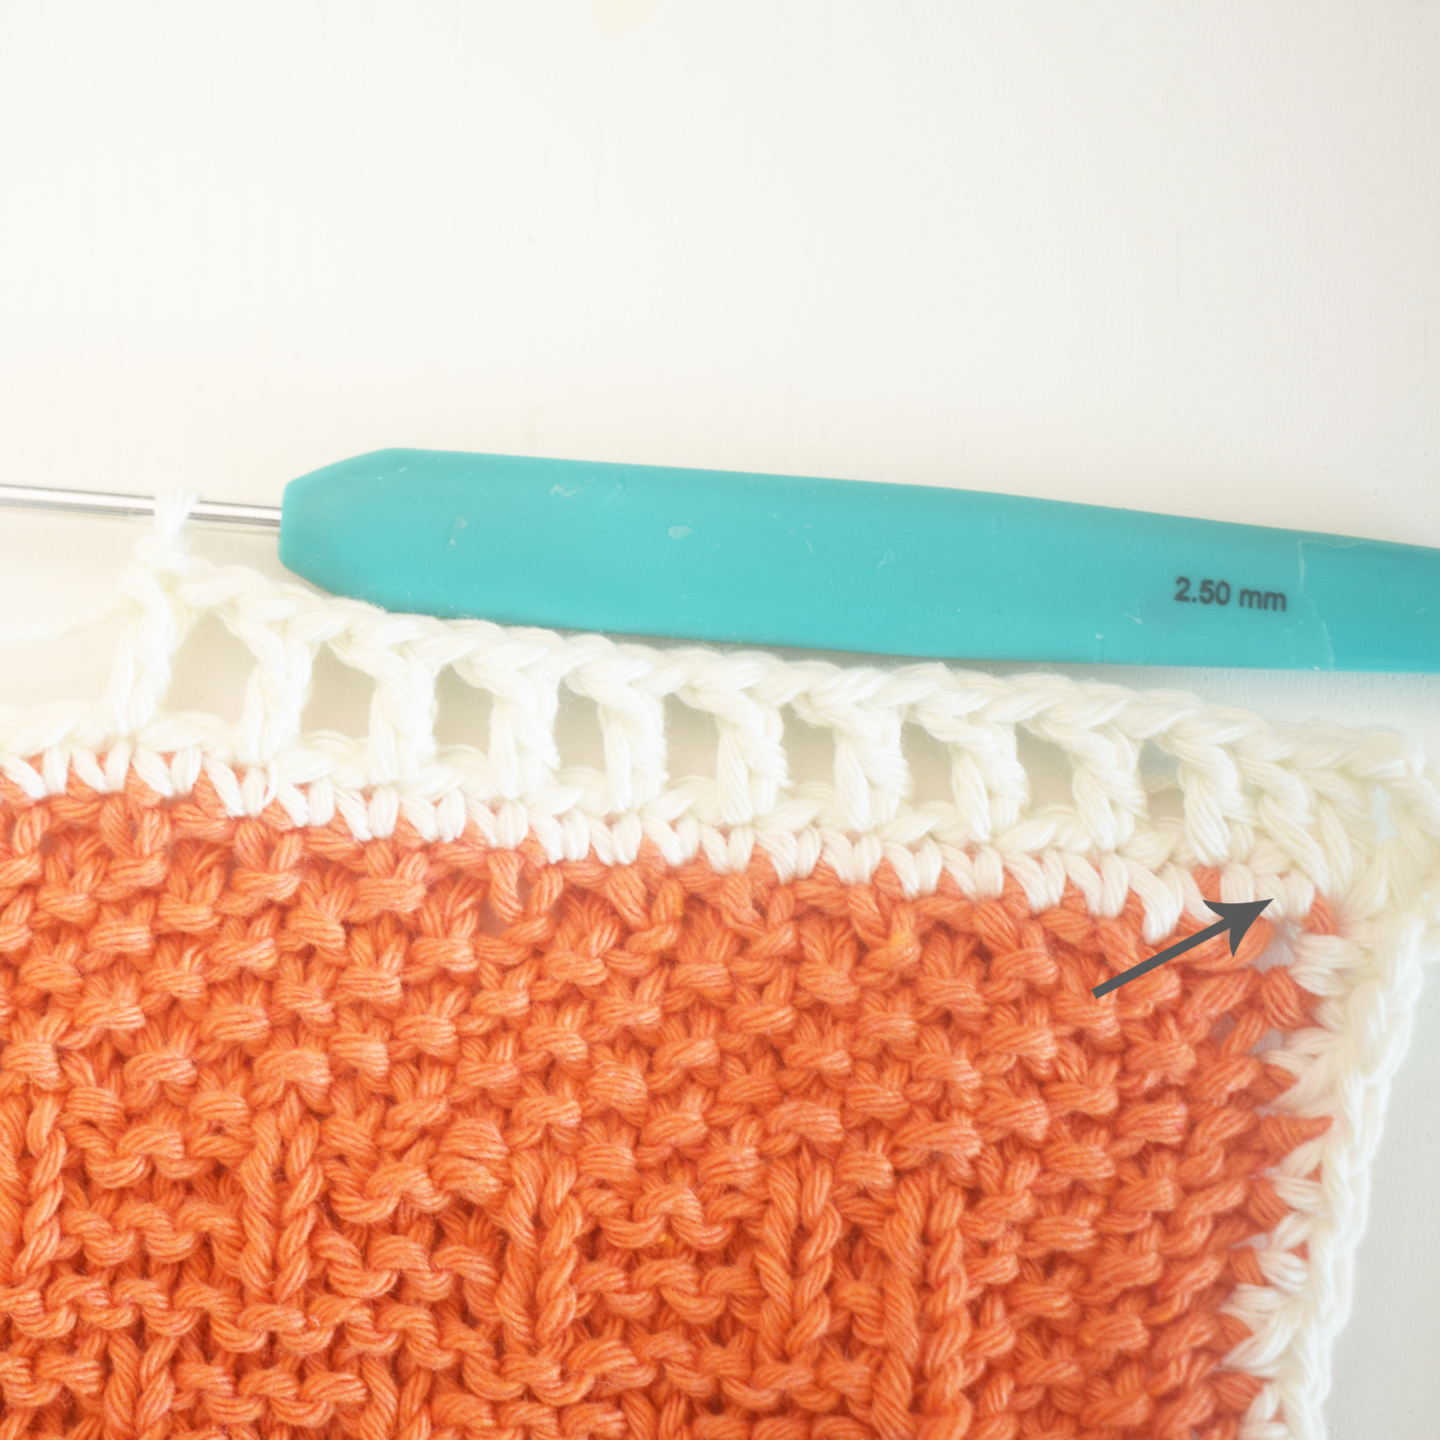
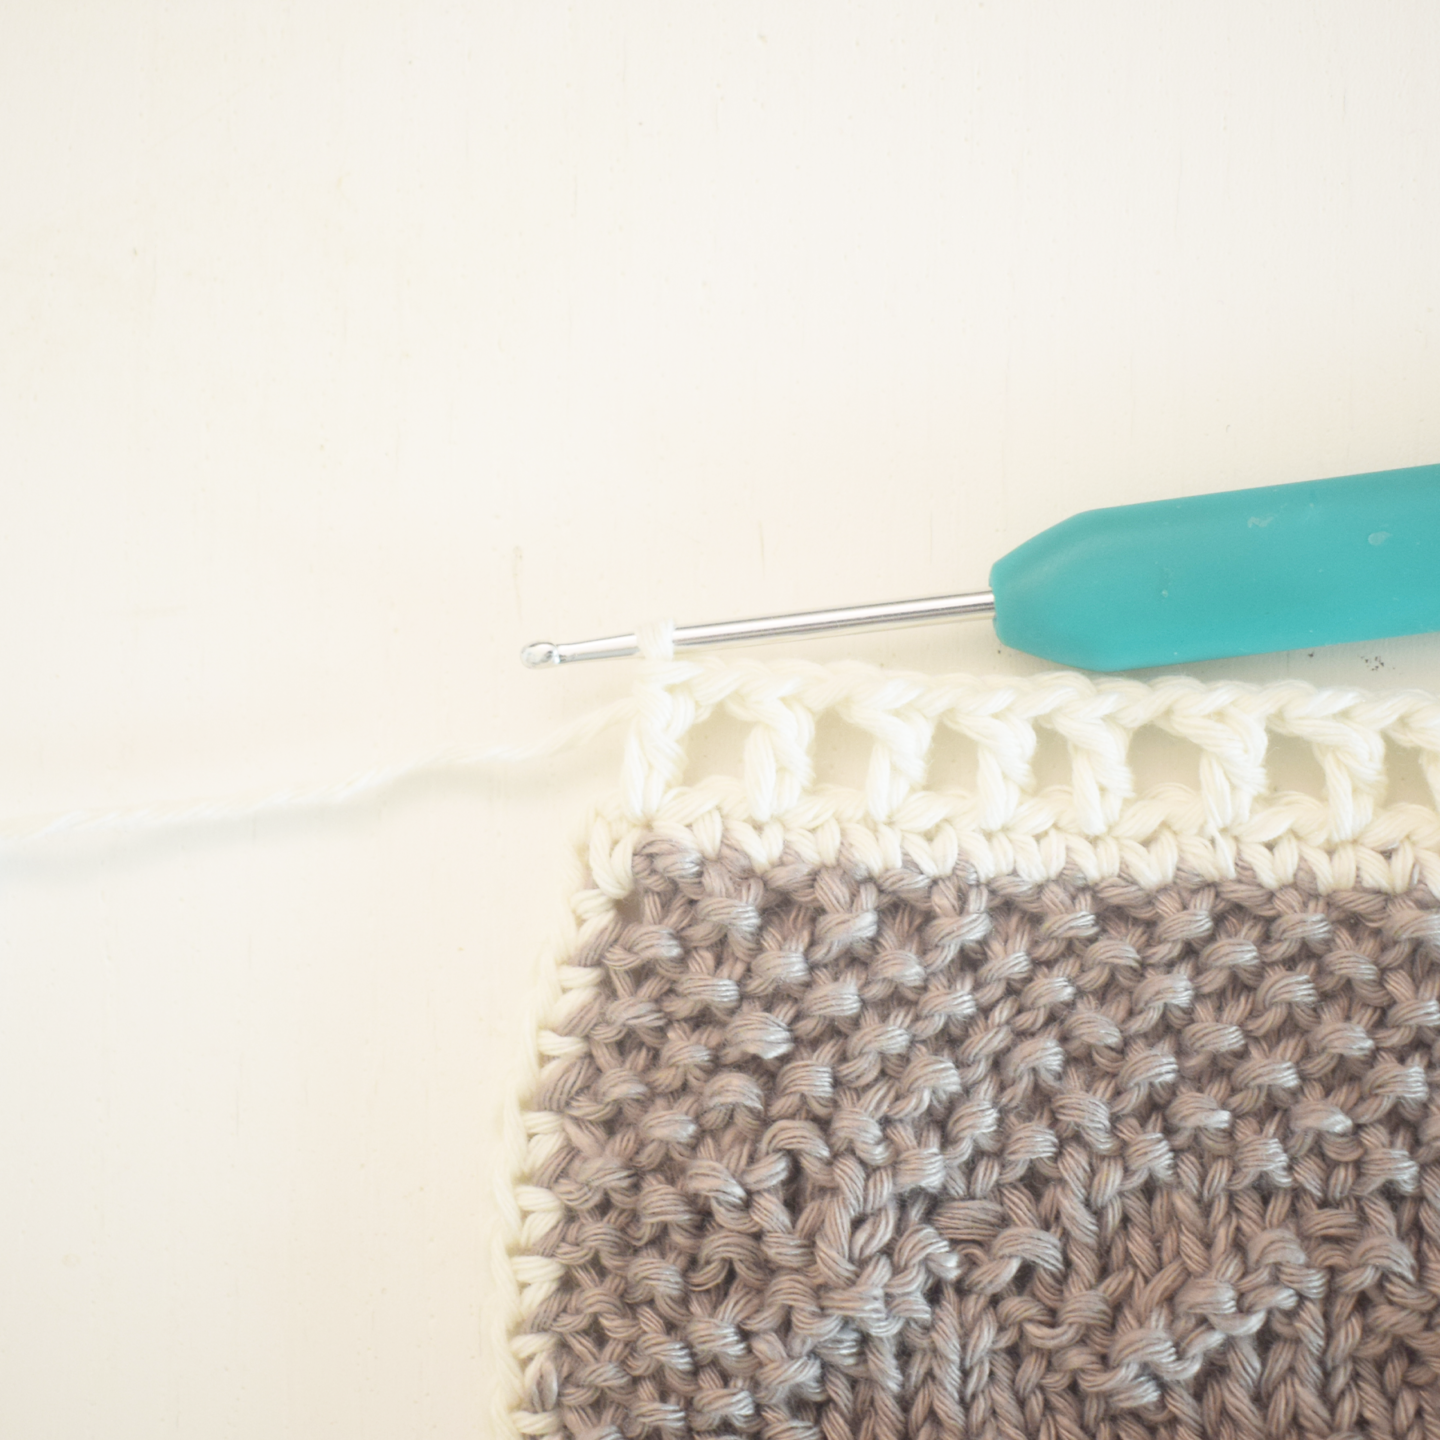
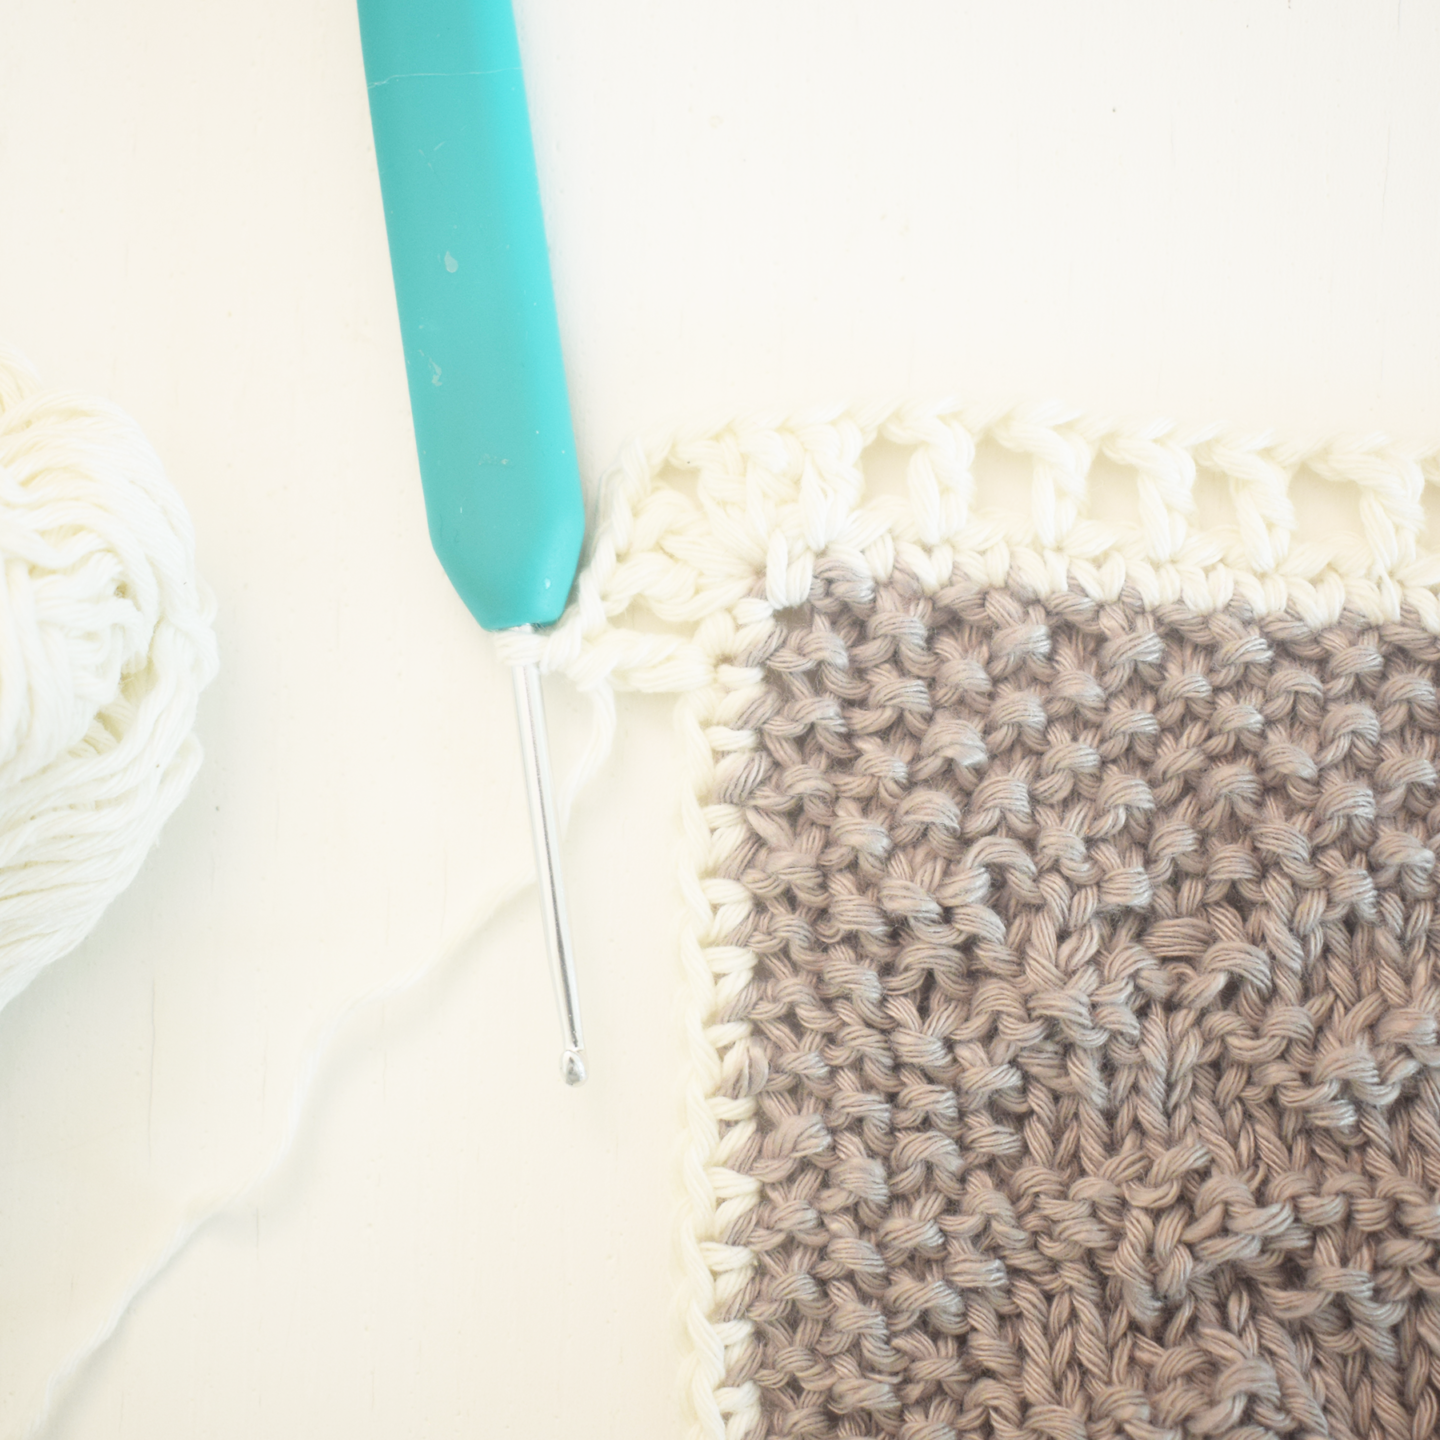
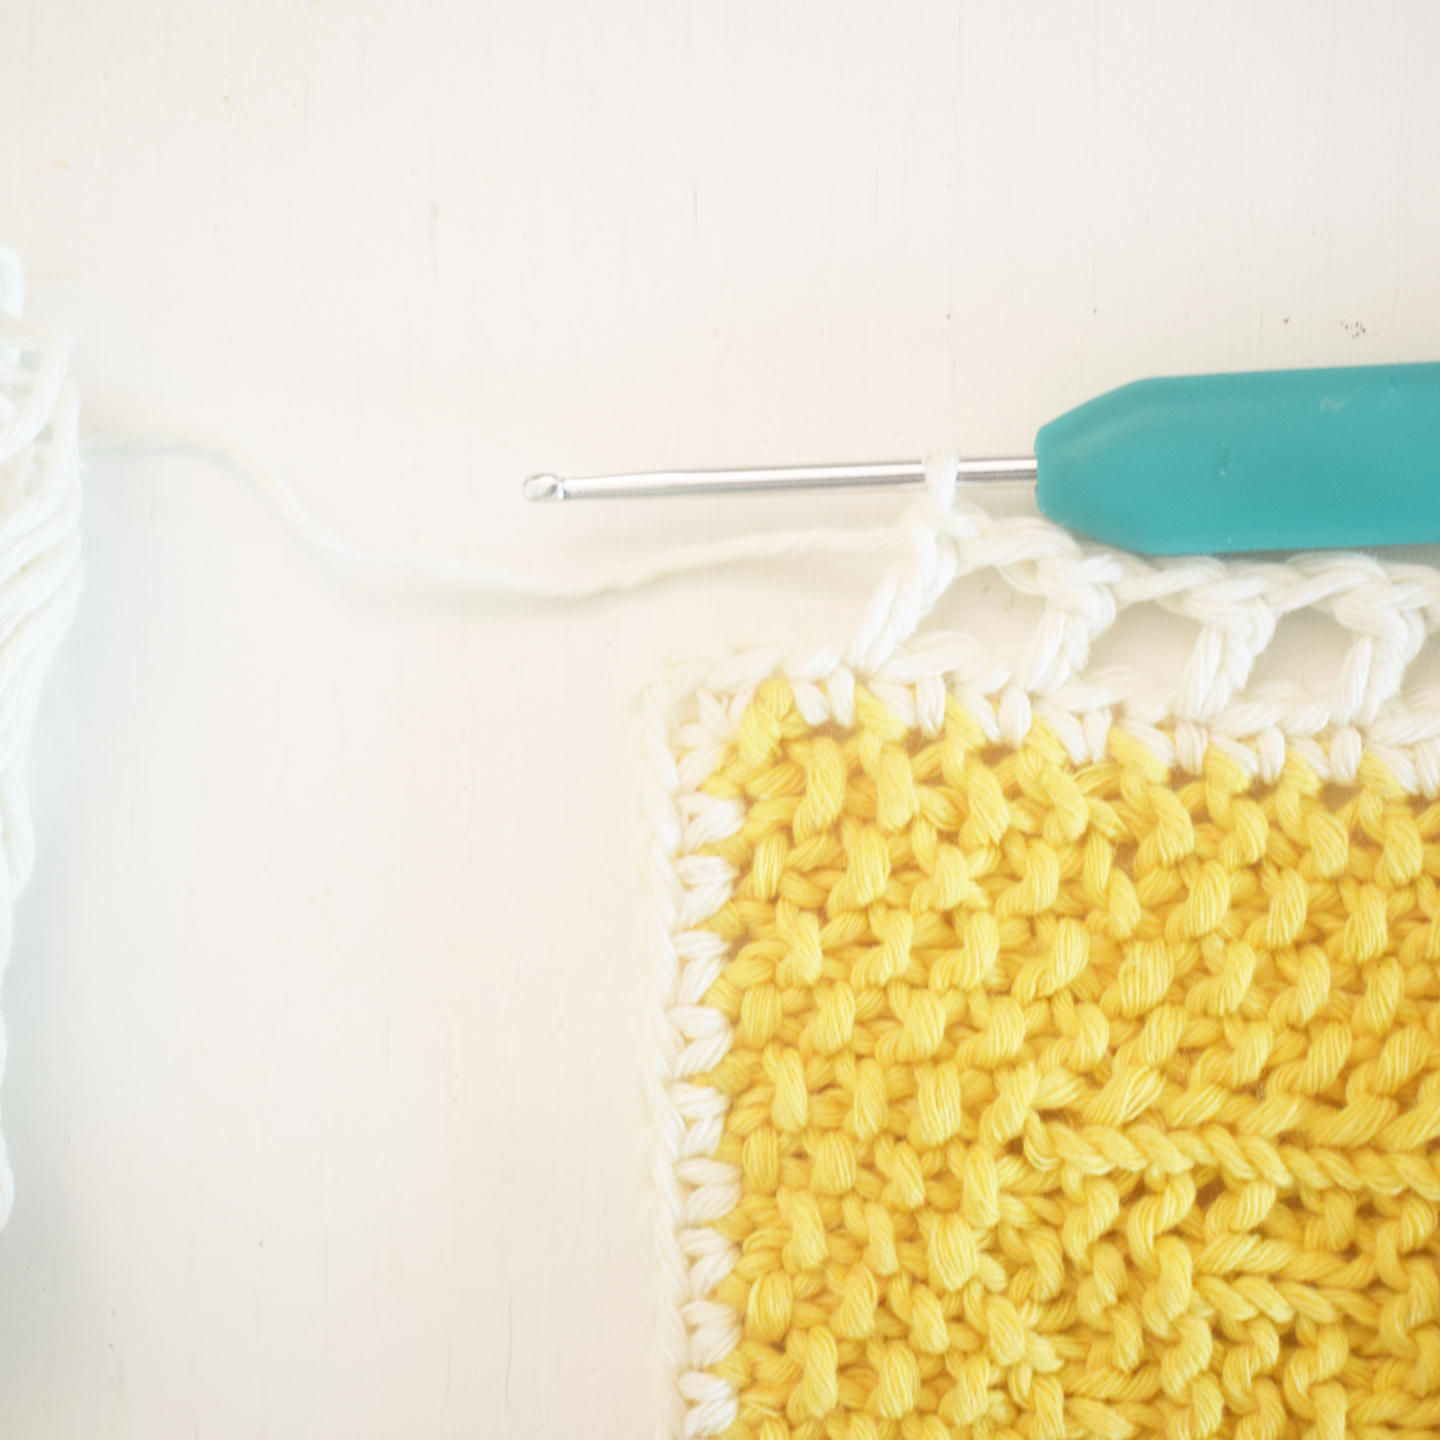
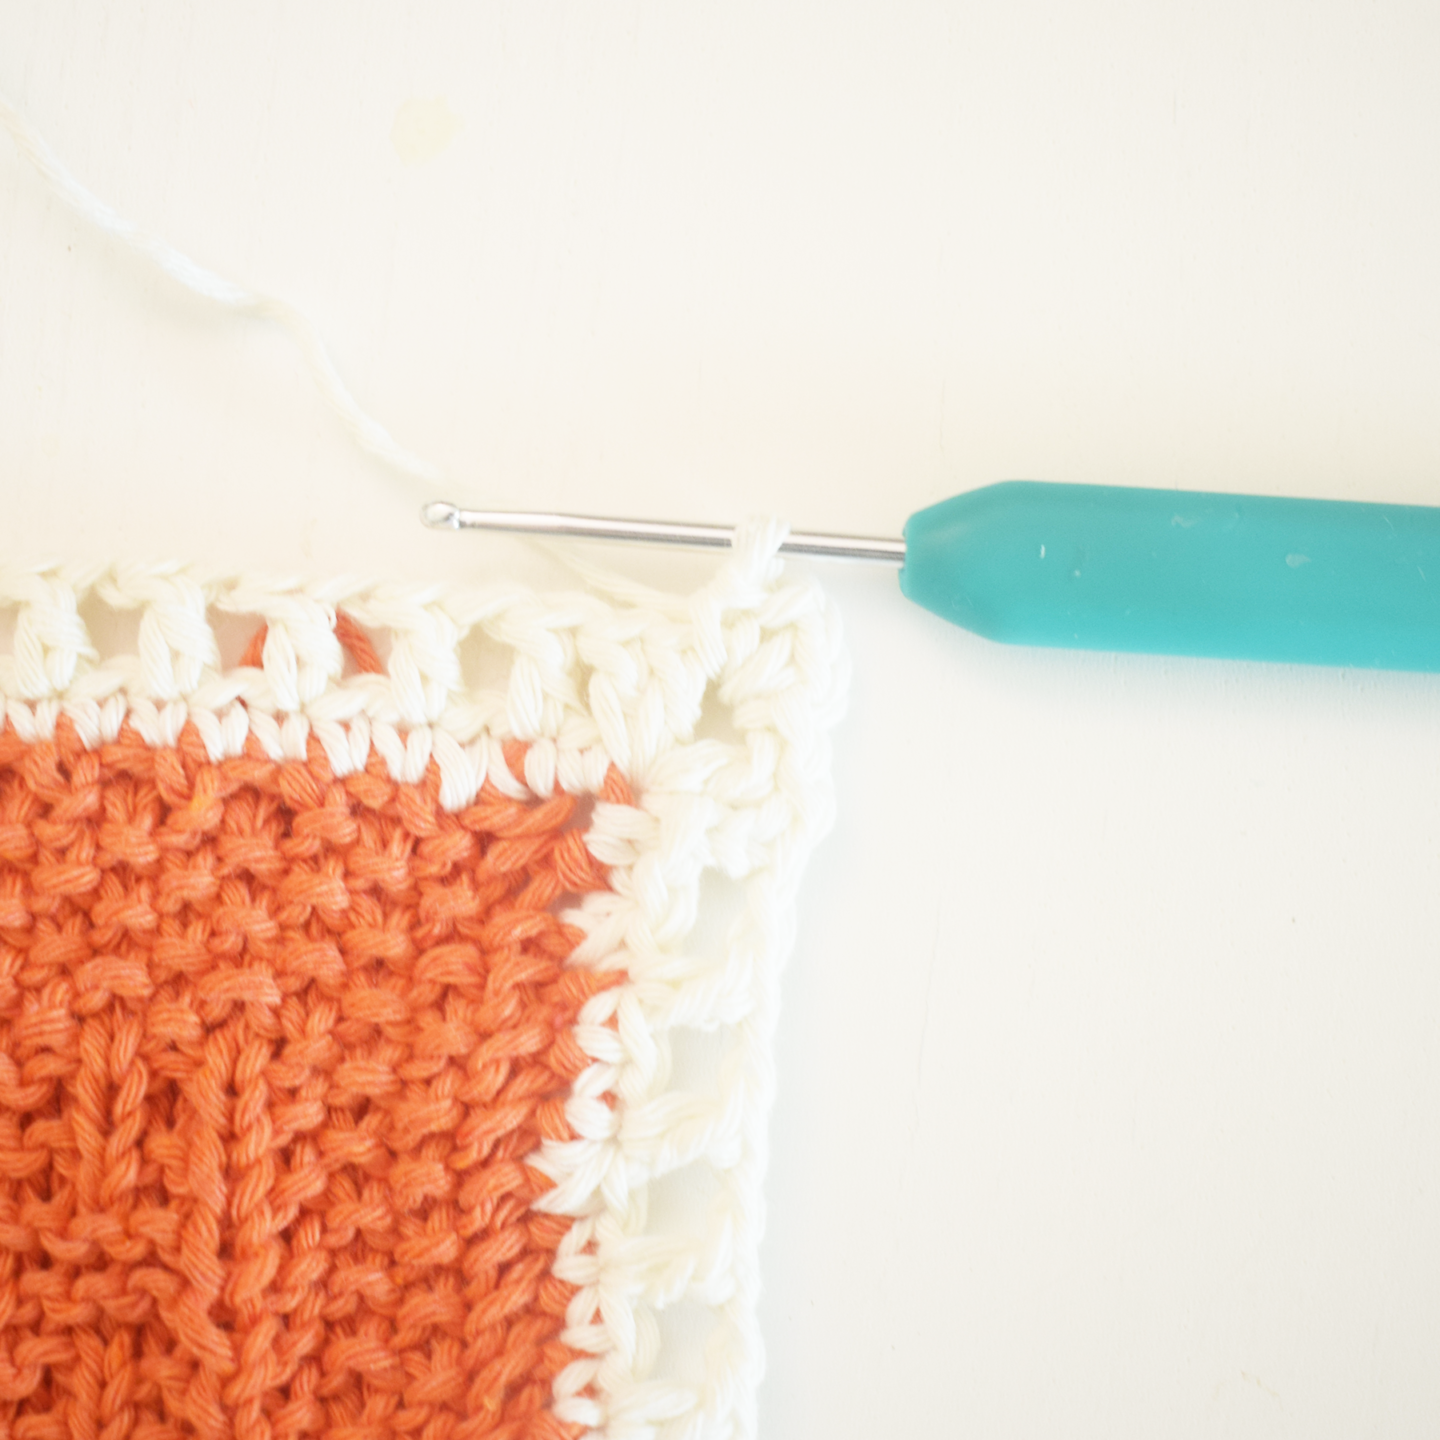
The first corner goes before the first stitch of the long side, as marked in the photo .. the corner is: sc, 2 ch, scThen work sc along the whole long side, 76 stitches in totalA photo showing where to work the sc stitches on the long side When you finish the long side, we’ll make the second corner in the first stitch of the short side The second corner: sc, 2 ch, sc … when you finish this side you’ll have 78 stitches, including the two corner stitchesWork 47 sc along the short sideA photo showing where to work the stitches on the short sideRepeat on the last two sides, then sl st into the first sc and sl st into the 2-ch space, and this is how the unit will look after the first row Row 2: 3 turning ch (counts as a dc), dc, 2 ch, 2 dc .. to form the first corner of the rowSkip the first stitch of the round, the one marked with the arrow… then work a dc in the next stitch, and repeat: ch, skip a stitch, dc in the next stitch, until the end of the long sideEnd of the long side, note that the last dc goes into the last scIn the 2-ch space, make a corner like this: 2 dc, 2 ch, 2 dc then repeat: ch, skip a stitch, dc in the next stitchSkip the last stitch of the short side, ch, then a corner in the 2-ch space Repeat along the long and short sides until the end of the row, sl st into the 3rd chain to finish the row, then sl st over to the 2-ch spaceRow 3: turning ch, then a corner like this: sc, ch, sc Continue along the long and short sides with sc in every dc and sc in every ch space and a corner in every 2-ch space at the corners
End of the border pattern
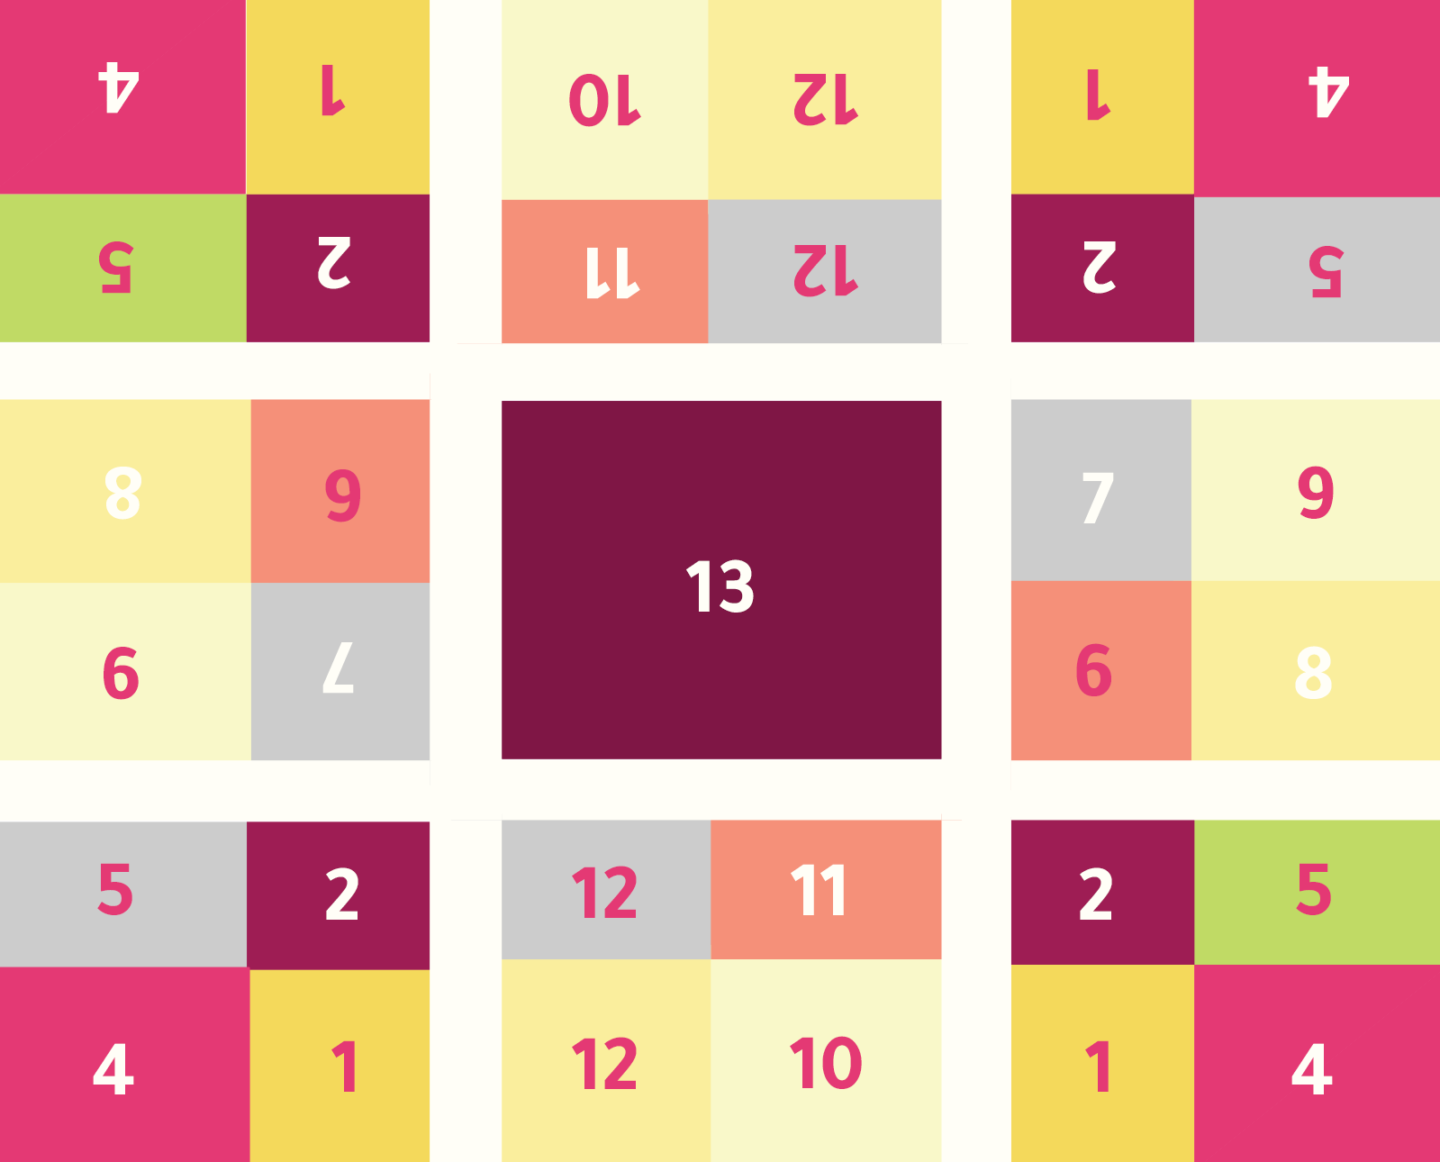
How to arrange the units by part number, as shown in the next photo
Joining method: you’re free to use any joining method you like. I suggest joining through the back loop, and I’ve already made a video showing this method
And now we’ve finished the very last part of Summer Joy! Thank you so much for sharing this journey with me, I hope you loved the project. Don’t forget to share photos of your work with me using the hashtag #shahadproject2018 on Instagram